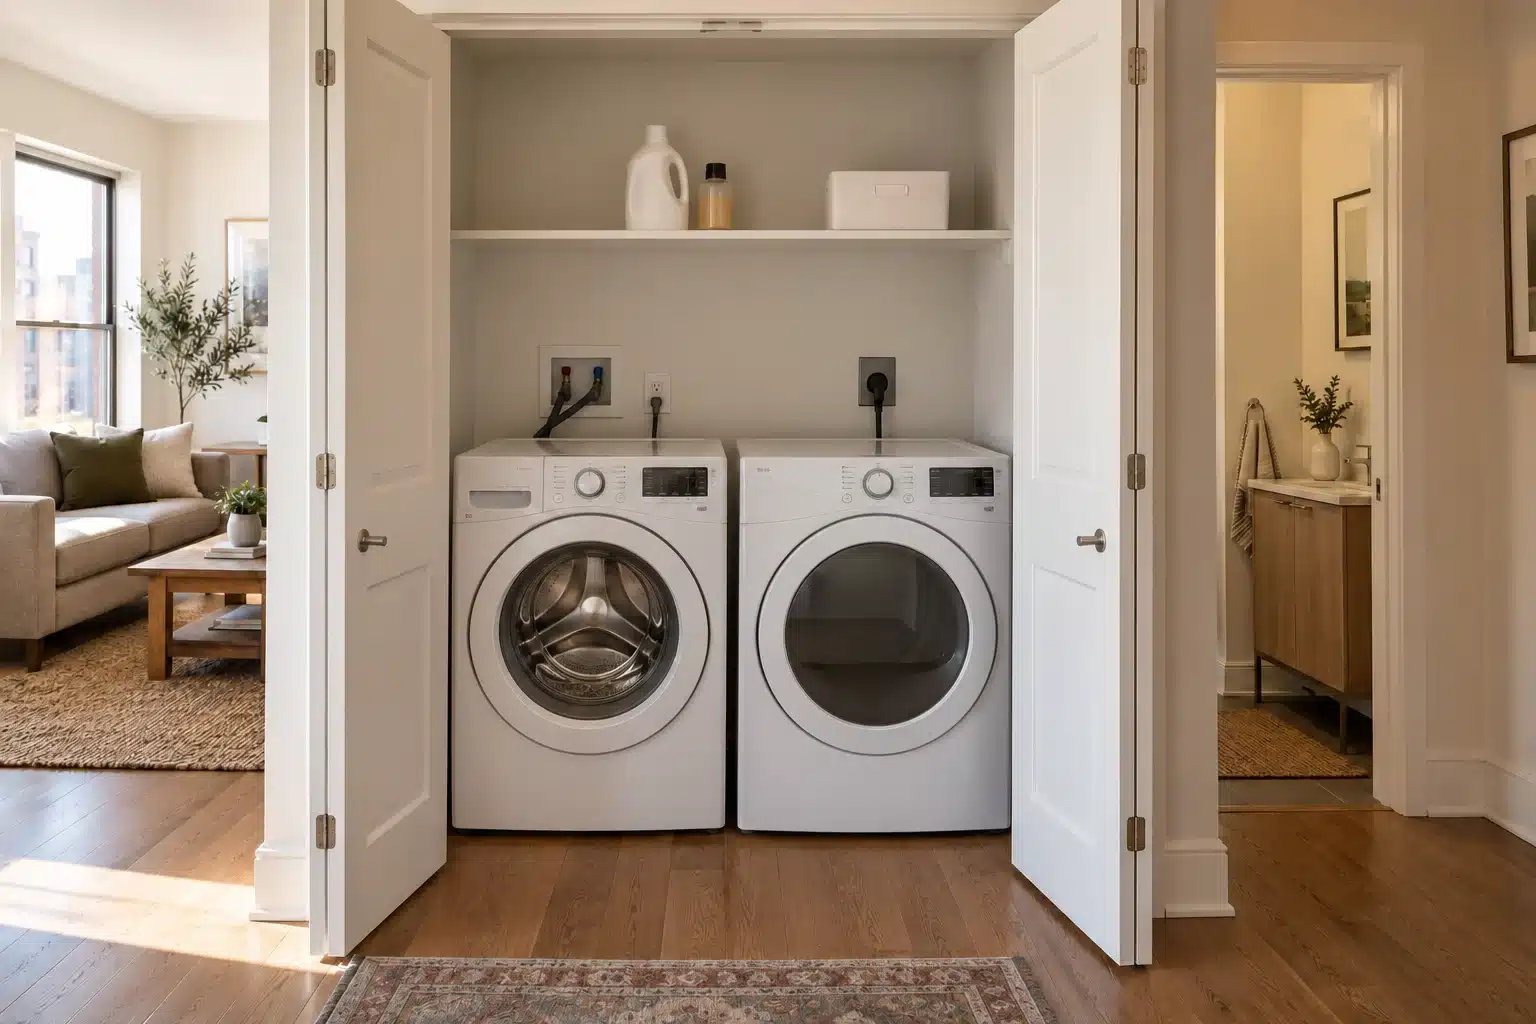
Small laundry closet storage should begin with the appliances, their doors and their installation instructions. Shelves can hold a modest supply of laundry products, but they need to fit around the space required for operation, ventilation and servicing. Measure those needs first, then add storage in the remaining usable areas.
This guide covers an enclosed laundry closet. For a washer with an upward-opening lid, use our small laundry room guide for a top-loading washer. If the wet clothes leave the closet to dry, plan that next step with drying clothes in a small apartment.
In this guide
1. Plan small laundry closet storage around the appliance requirements
Find the model numbers and installation manuals for the washer and dryer. Record the requirements relevant to their actual arrangement: side-by-side, a manufacturer-approved stack, a combined unit or another specified configuration. The instructions may address enclosure spacing, closet ventilation, connections, drain access and service needs. Do not borrow numbers from a different model because the machines look similar.
Separate the empty closet measurement from the space available after compliant installation. A dryer duct, washer hose or connection may occupy room that looks unused from the front. That space is not automatically available for a slim cart. Measure what you can observe safely, and ask the installer or property manager about anything hidden rather than pulling machines out for a storage experiment.
The Whirlpool dryer venting specification discusses airflow openings for closet installations and directs readers to product literature for minimum enclosure clearances. It also says its illustrated door openings cannot be replaced by a larger gap below the door. This is a reason to consult your model’s instructions, not a universal closet design prescription.
Keep a planning page with the model numbers, manual locations and unresolved installation questions. Small laundry closet storage should be designed only within confirmed usable areas. Mark uncertain spaces as unavailable until the installer or property manager explains them; a visible gap does not establish room for a shelf or cart.
2. Map doors, lids and loading movements
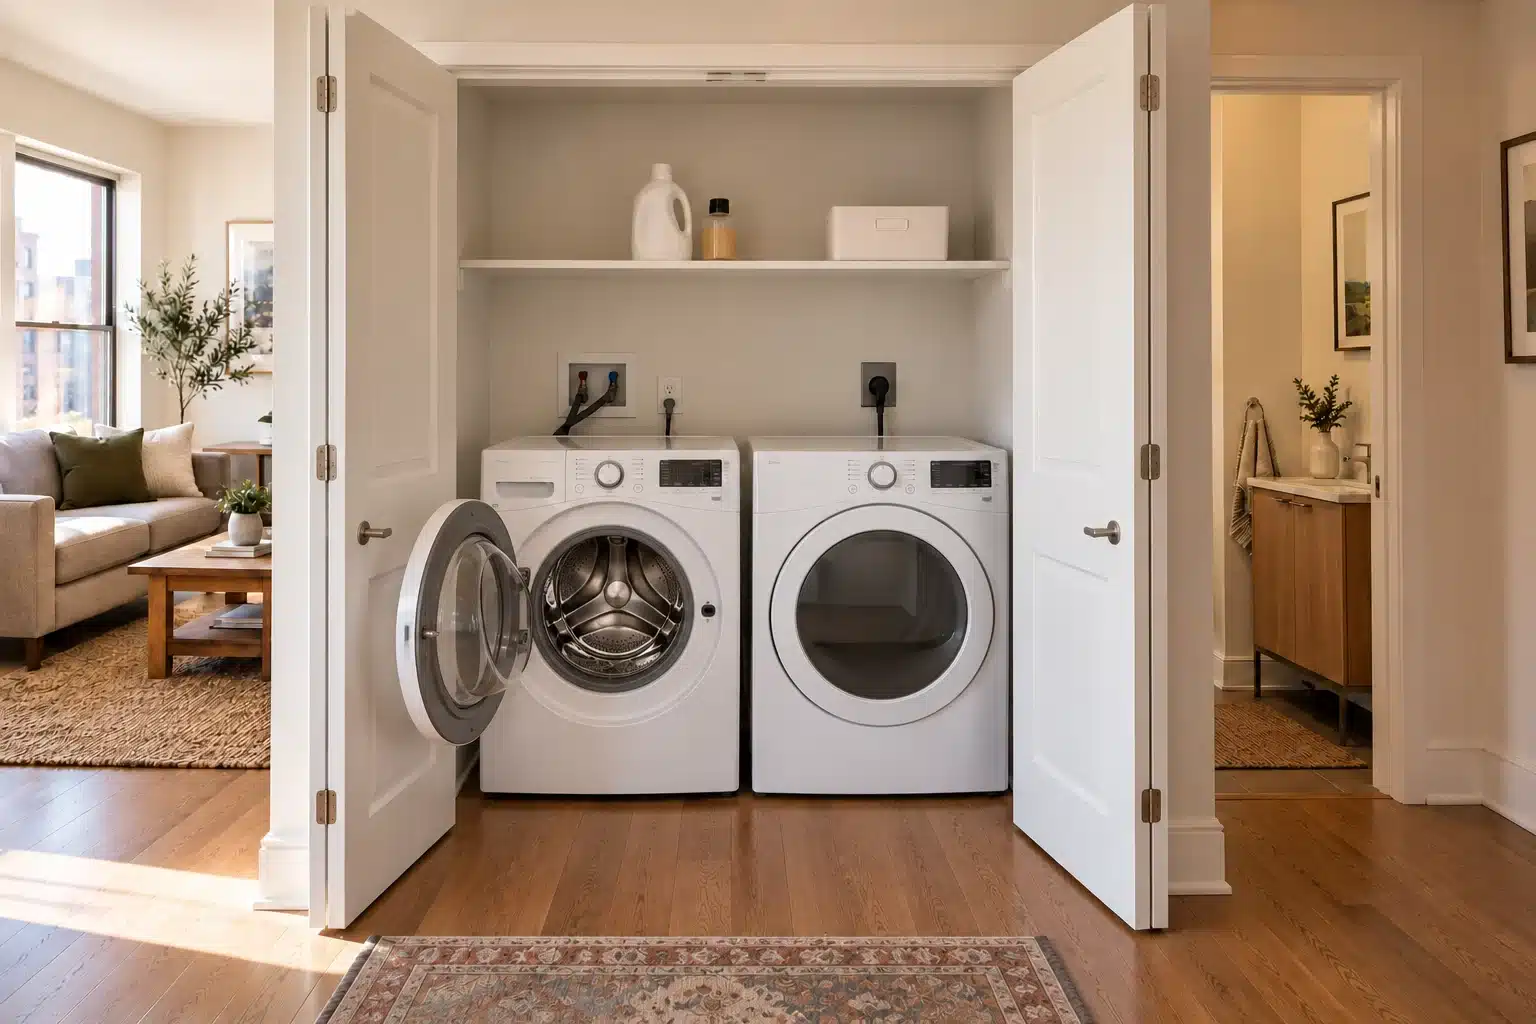
Open the closet doors fully and note where they stand. Then check the washer and dryer doors according to their normal operation. A bifold door may collect at the side where a shelf handle projects. A swing door may cover a side wall when open. Sliding doors may prevent access to both machines at once. Write down these constraints before choosing an organizer.
Include top-loading lid travel, detergent drawers, lint-filter removal and any accessible maintenance panel. Shelf depth can interfere with a control panel even when the shelf is above the machine. For a front-loading unit, you need a place to approach and remove clothes with the door open. A basket on the floor should not force you to work around its rim while handling wet laundry.
Draw the opening movements on a simple sketch. Mark a temporary basket position and stand there with an empty basket. Rehearse loading, transferring, clearing the lint filter and closing the closet. This checks the sequence, not merely whether everything fits in one still photograph. If two doors collide, shelving is unlikely to solve the underlying layout.
List the movements in the order of an ordinary load. Small laundry closet storage must allow the closet door, appliance door or lid, dispenser and lint filter to operate without moving a loaded organizer first. Rehearse the basket handoff too. If the loading position fails, find another supply location before adding shelves.
3. Compare small laundry closet storage locations
| Location | Possible use | Condition to verify |
|---|---|---|
| Supported shelf above an allowed zone | Light supplies in original containers | Manual requirements, lid travel, reach and load |
| Shallow side shelf | A small daily product set | Machine access and door projection |
| Separate secure cabinet nearby | Products requiring controlled access | Household access, product labels and installation |
| Removable small bin | Dry accessories such as mesh wash bags | Reach and full removal through the opening |
| Empty space beside machines | No storage until checked | Required spacing, connections and service route |
Choose the storage location after identifying the objects. Laundry supplies such as one detergent container, a stain product and some mesh bags require a different arrangement from bulk refills and cleaning tools. You do not need to keep all laundry supplies in the closet. An independent cupboard can hold appropriate backup laundry supplies while a smaller working set stays within convenient reach.
A shallow shelf can make laundry supplies more visible, but its depth must suit the container’s base. Do not leave a bottle partly overhanging to gain space. Use a stable supported surface with adequate capacity and a compatible installation. A removable tray can contain drips; it should also come out easily for cleaning rather than hiding the shelf behind a permanent row of products.
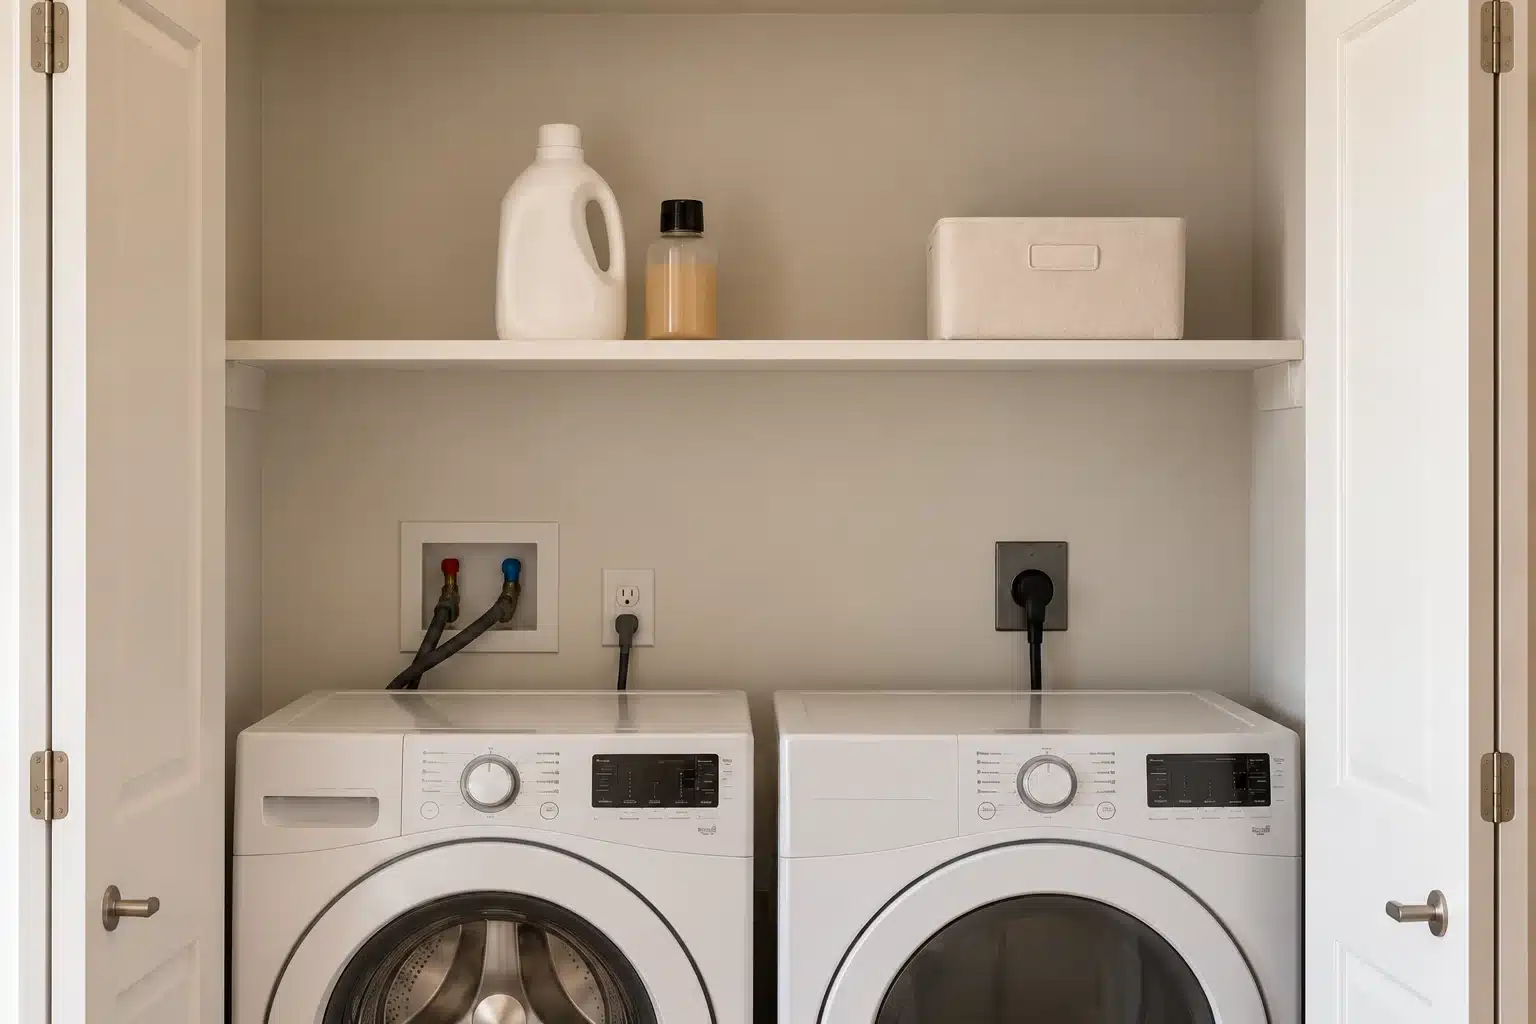
Assign each candidate location an actual set of contents. Small laundry closet storage does not need a shelf merely because one appears to fit. A small mesh-bag bin and one suitable daily product can need less space than several bulk containers. Keep only the working items whose labels and household access needs permit that location.
4. Work through a shelf-fit example
Suppose the manuals and existing installation leave a permitted side-wall location with 18 inches of clear width and room for a shelf no more than 8 inches deep. These are hypothetical dimensions, not appliance clearance advice. A tray 17 inches wide and 7 inches deep could fit on that surface, but only if its handle clears the open closet door and the contents remain stable.
Now measure the tallest daily bottle and the hand space needed to grasp it. If it is 11 inches tall, a shelf opening exactly 11 inches high makes removal awkward even though the bottle stands inside. Trial its movement using a temporary mock-up away from the appliances. You may need more shelf spacing, a shorter original product size or a different location.
Finally, consider reach. If the allowed shelf sits above your comfortable reach, reserve it for light occasional accessories and find a better home for the daily bottle. Do not climb on the washer or dryer to access storage. A technically fitting shelf that cannot be reached comfortably is the wrong daily zone.
Use a cardboard footprint away from the machines to test the candidate shelf and tray. For small laundry closet storage, check the bottle base, hand grip and complete removal motion together. Then compare that result with the permitted zone; do not use a mock-up as a reason to alter required appliance spacing.
5. Store supplies with their labels and household needs intact
Keep gasoline, flammable solvents and other flammable vapors or liquids away from the dryer, as the linked Whirlpool specification warns. Check labels before assigning any product to this zone.
The American Cleaning Institute’s laundry safety guidance recommends original labeled containers and storage out of reach of children and pets. It also advises closing and putting products away after use. Follow each label and choose secure storage appropriate to your household rather than displaying products simply because clear jars look tidy.
Separate accessories from products. Mesh laundry bags, spare clothespins and a lint brush can sit in a small labeled bin; detergent should remain identifiable in its own packaging. Keep the bin light enough to remove comfortably. Do not decant chemicals into drink bottles or decorative containers that lose the instructions and warnings.
Use the working zone for the laundry supplies required during an ordinary load. Keep bulk laundry supplies elsewhere where the labels permit and access is appropriate. If a large refill bottle is difficult to lift, choose a product format you can handle according to its instructions. More capacity is not useful when it turns every dose into an awkward overhead lift.
Make a product list from the original labels before assigning storage. Small laundry closet storage must keep flammable liquids and vapors away from the dryer and maintain secure household-appropriate access. Keep bulk supplies elsewhere when that location better meets their labels; a matching row of bottles is not a requirement.
6. Preserve a practical service and cleaning plan
For a vented dryer, keep the exhaust-duct route free of storage that could crush it, and preserve access for inspection and cleaning. Whirlpool’s cited guide specifies lint-screen cleaning before or after each load and periodic appliance-interior and duct cleaning by qualified service personnel. Follow your model’s maintenance instructions; ventless dryers need their own specified care rather than an assumed outdoor exhaust duct.
Identify accessible shutoffs, drains, outlets and service panels from the installation information and your existing arrangement. Do not cover them with a fixed storage project. Ask the installer or property manager to confirm the access plan if it is unclear. A shelf should not need dismantling simply to perform routine maintenance prescribed by the appliance manufacturer.
Use removable bins for appropriate accessories so the closet can be cleared methodically. Label the bins by contents and keep their weight manageable. Avoid wedging organizers against hoses or pushing a cart behind an appliance. The back of a closet is a connection zone, not an unseen overflow cabinet.
During ordinary cleaning, remove the small working set of laundry supplies, wipe compatible shelf surfaces and inspect for drips or changes. Follow the appliance instructions for lint-filter cleaning and other maintenance. If you see a leak, damaged connection or ventilation problem, address it through the appropriate maintenance route before adding storage around it. A liner can make cleanup easier; it does not repair a leak.
Write down where removable supplies will go when the closet needs service. Small laundry closet storage should leave the specified ventilation, dryer exhaust route and access points available. Keep the temporary destination outside the household route. Do not move appliances or disconnect hoses merely to trial a storage change.
7. Check installations and understand the tradeoffs
- Confirm the exact appliance manuals and installed configuration.
- Measure open doors, lid travel and product-drawer access.
- Check shelf support, fixings and loaded capacity.
- Leave specified airflow paths and service access available.
- Verify the tray or bin passes through the closet opening when filled.
- Plan where supplies go if the closet must be cleared for service.
In a rental, obtain any required installation permission and confirm what can be attached to the closet walls. A screw-free tension product is not automatically suitable around appliances. Check its mounting conditions and capacity. Do not use machine tops as structural support for a shelf unless the appliance and storage arrangement are explicitly designed for it.
Changing closet doors is a separate project. A decorative solid door may conflict with the existing ventilation arrangement, and a curtain is not an automatic replacement for every appliance enclosure. Ask the qualified installer and property owner to confirm an appropriate change before purchasing hardware. Treat storage as subordinate to the enclosure’s function.
Some closets have room for the machines and very little else. In that case, a nearby supply cabinet and a basket brought in only for loading can work better than filling every strip of wall. A tidy closet should make laundry and maintenance easier. Leaving an area empty can be the most useful result of the planning exercise.
Finish the plan with one decision: use the confirmed shelf zone, use a nearby secure cabinet, or keep only the appliances in the closet. Small laundry closet storage is successful when loading and prescribed maintenance remain straightforward. If the organizer requires a door or ventilation change, resolve that separate installation question first.
A closet worksheet and a renter’s small working-set example
| Record for your own room | Your notes |
|---|---|
| Washer and dryer model numbers and exact manuals | ________________________ |
| Confirmed installation configuration and open questions | ________________________ |
| Required spacing and ventilation from those manuals | ________________________ |
| Door, lid, dispenser and lint-filter movements | ________________________ |
| Connections, exhaust route and prescribed service access | ________________________ |
| Confirmed shelf zone and support instructions | ________________________ |
| Original daily product dimensions and labels | ________________________ |
| Secure household-appropriate supply location | ________________________ |
| Where removable contents go during service | ________________________ |
Keep the worksheet with the appliance documentation, using the manufacturer’s values where required. Mark an unknown installation detail as a question for the installer or property manager, not as an empty storage zone. A laundry closet has several jobs that are easy to miss in a front view. The shelf layout should follow confirmed operation, ventilation and maintenance needs rather than define them.
Imagine a renter with an existing enclosed washer-and-dryer arrangement, one permitted shelf and no confirmed spare floor space. The current laundry supplies are a daily detergent container, a stain product and a small mesh-bag collection. Bulk duplicates sit nearby in an appropriate secure cupboard. The first decision is whether those daily products can use the existing shelf without an awkward lift or obstructed label, not whether another cabinet can fit.
The renter finds the model numbers and gathers the manuals, then asks the property manager about an unclear rear connection and the existing enclosure. They do not pull the machines forward to discover more storage space. Until that detail is resolved, the laundry closet plan treats the rear as unavailable. This keeps an organizing experiment from becoming an unplanned appliance installation or a change to service access.
The confirmed shelf is measured with a product tray in mind. The tray must sit fully supported, pass through the open closet doorway and allow a stable grip on each original container. The renter rehearses the bottle movement on a temporary mock-up away from the appliances. An opening that accommodates the bottle while standing still may still be unsuitable if there is no room to grasp and remove it normally.
If the daily detergent is too heavy or too high for comfortable handling, the nearby secure cupboard becomes its working home. The laundry closet can hold only appropriate light accessories instead. Moving laundry supplies a short distance may add a trip, but it can remove repeated overhead handling and crowded access. Product labels and household access needs still govern the new location; a nearby cupboard is not automatically suitable for every chemical.
The renter next rehearses one load with an empty basket. They open the enclosure and appliance doors, check the dispenser, remove the lint filter as normal and return the basket to its planned position. The shelf and any handles must remain outside those movements. If the test fails, reduce or relocate the working set before buying another organizer. A narrower shelf is useful only when the installed arrangement permits it.
Create a clearing plan for prescribed maintenance. Name the temporary home for removable accessories and laundry supplies, and keep that location outside the household route. Leave the exhaust route, specified air paths and accessible service points unobstructed. Follow the exact dryer maintenance instructions and use qualified help where required; an organizer is not a substitute for inspection, cleaning or repair of the appliance installation.
A practical purchase decision may be a single appropriate removable tray, or no purchase at all. If the laundry closet already handles the machines and ordinary load sequence well, keep only the working contents that genuinely improve that routine. Recheck after the next normal wash cycle for drips, uncomfortable reach and products that have migrated into required spaces. Address the specific issue rather than making the supply display larger.
Questions about small laundry closet storage
Can I put a shelf directly above the washer?
Check the specific washer’s installation and operating requirements, including any lid or dispenser movement. Then verify the shelf’s mounting, load and reach. An existing gap does not by itself establish that a shelf is suitable there.
Can a narrow cart go between the machines?
Only after confirming that the location is not required for specified spacing, connections or access. Include the cart’s handles and loaded contents. If its use requires repeatedly pulling machines sideways, find another storage position.
Do ventless dryers need no closet planning?
No. Different dryer types have different installation requirements, including conditions for enclosure, air movement, drainage or maintenance. Read the exact manual. “Ventless” does not mean every surrounding gap is available for storage.
What is the first organizer to add?
Usually one small removable accessory bin or a tray for an appropriate existing shelf. First limit the working supplies, check the operational route and confirm the instructions. A full shelving system should follow those decisions rather than precede them.