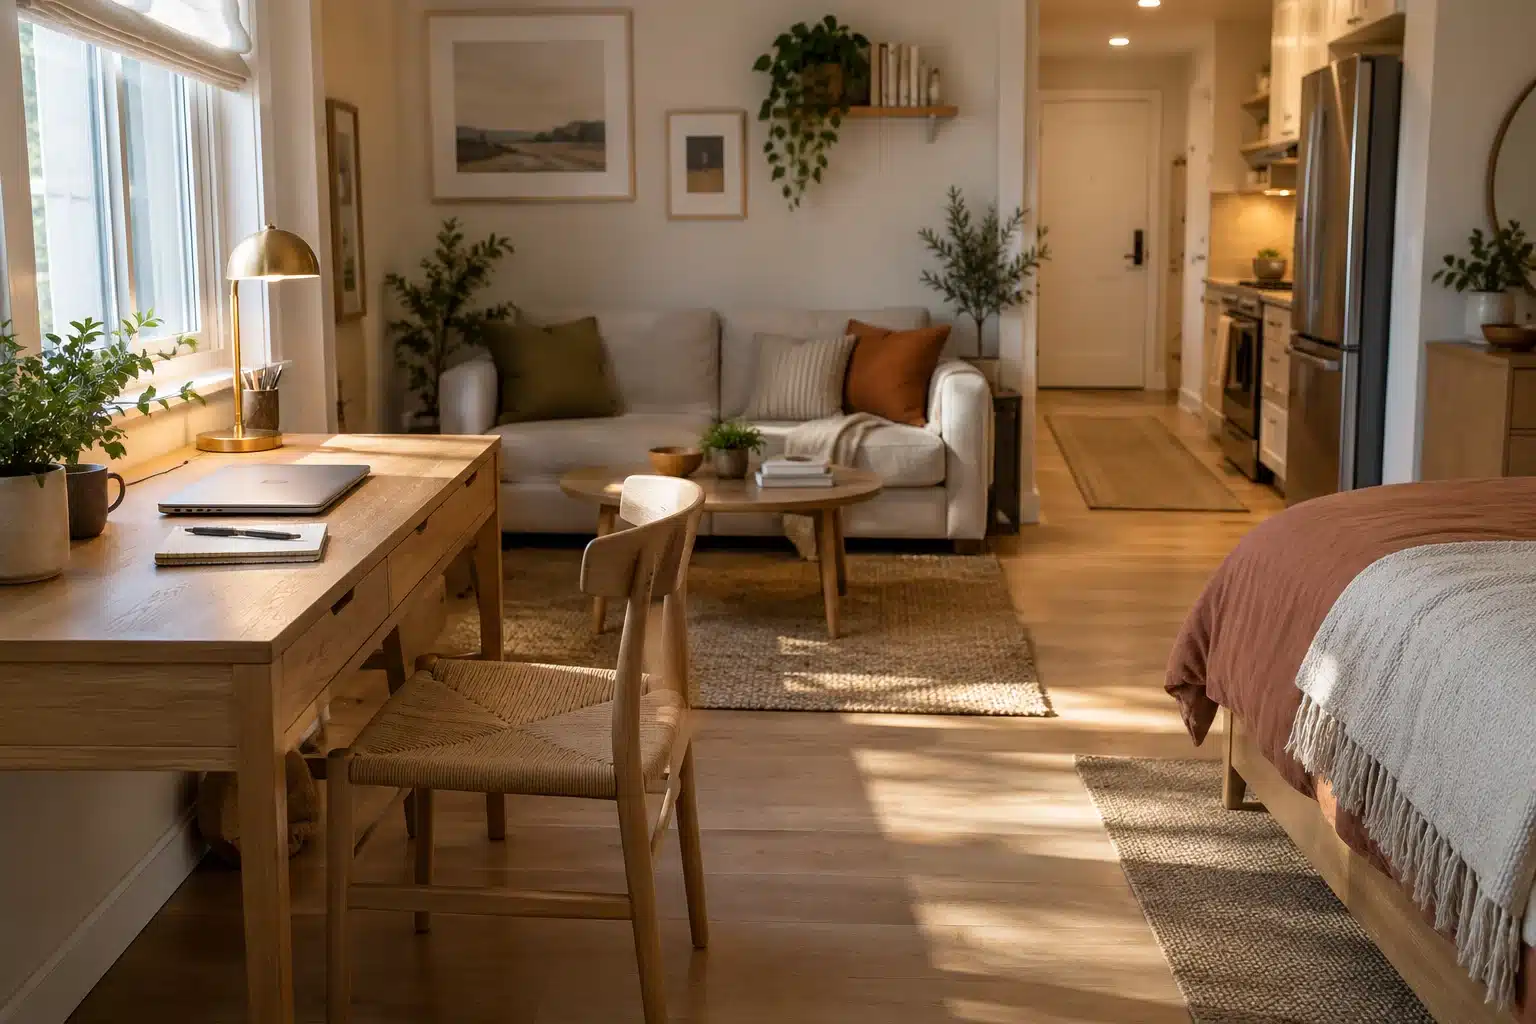
A desk in a studio apartment works best where the chair can move, the screen is comfortable to view and everyday routes remain usable. Start with those three checks before choosing a fashionable corner. A desk that fits neatly against a wall can still take over the room once you sit down, open a drawer or stand up.
Compare a side-wall position, a window-side position and a spot behind the sofa. This guide focuses on the workspace itself; our long, narrow studio layout guide helps arrange the whole apartment, while our studio room divider guide covers visual separation.
In this guide
Choose a desk in a studio apartment around your actual work
Write down what a normal session involves. An hour of laptop administration requires a different surface from daily work with a monitor, keyboard, mouse, notebook and headset. Arrange your actual equipment on a table and measure its footprint. Include the stand, connectors projecting behind the screen and a comfortable place to move the mouse.
Before placing a desk in a studio apartment, decide which items must stay set up. If you work regularly, dismantling every cable twice a day may make a shared dining surface frustrating. Occasional work may suit a table that clears completely into a drawer or small bag. The useful distinction is how the space changes between tasks, not whether a furniture label says desk or table.
List the living functions that need protection: a usable sofa, space to make the bed, access to clothing and a dining position. Rank them alongside work. If the room cannot hold everything comfortably, reconsider an occasional guest chair or large coffee table before compromising the chair you use for hours.
Measure a desk in a studio apartment with the chair in use
Record desk width, depth and height, then measure the chair’s widest point and base. Under the desk, check the gap between legs, the underside of drawers and any crossbar. A chair might slide beneath the top while its arms hit the apron; a small drawer unit may occupy the exact space your knees need.
For a worked example, imagine a 100 cm wide, 60 cm deep desk, approximately 39 by 24 inches. If your chair and getting-up movement extend another 70 cm beyond the desk front, the occupied depth is about 130 cm, or 51 inches. That 70 cm is an observation to make with your chair, not a general clearance standard. A neighboring walking route may need additional space beyond this footprint.
Mark the desk outline and borrow a chair for the trial. Sit, move backward, turn and stand. Repeat while another person passes, if that is part of daily life. Test nearby cabinet doors and bed access too. Judge the arrangement in its working state rather than with the chair tucked away.
Compare three places for a desk in a studio apartment
| Position | Useful when | Main limitation | Trial to make |
|---|---|---|---|
| Along a side wall | A wall has uninterrupted length | The chair may project into the main route | Walk past while someone is seated |
| Beside a window | Light comes from the side | Glare, window access or heating may conflict | Check the screen at different times |
| Behind the sofa | The sofa already sits away from the wall | A desk and chair may consume the whole strip | Measure the full space between sofa and wall |
A side wall often makes cable routing straightforward, but the wall must be wide enough for the surface and any useful storage. Avoid choosing a corner simply because it is visually empty. That corner might be a wardrobe’s door space or the place needed to turn with a laundry basket.
Behind the sofa, work out where the person faces and which way the chair moves. A console-like surface is not necessarily deep enough for computer work. If the chair backs into the sofa or blocks the kitchen route, relocate the desk or change the furniture arrangement. Adding a smaller tabletop alone may not solve the conflict.
Check daylight, screen position and comfortable reach
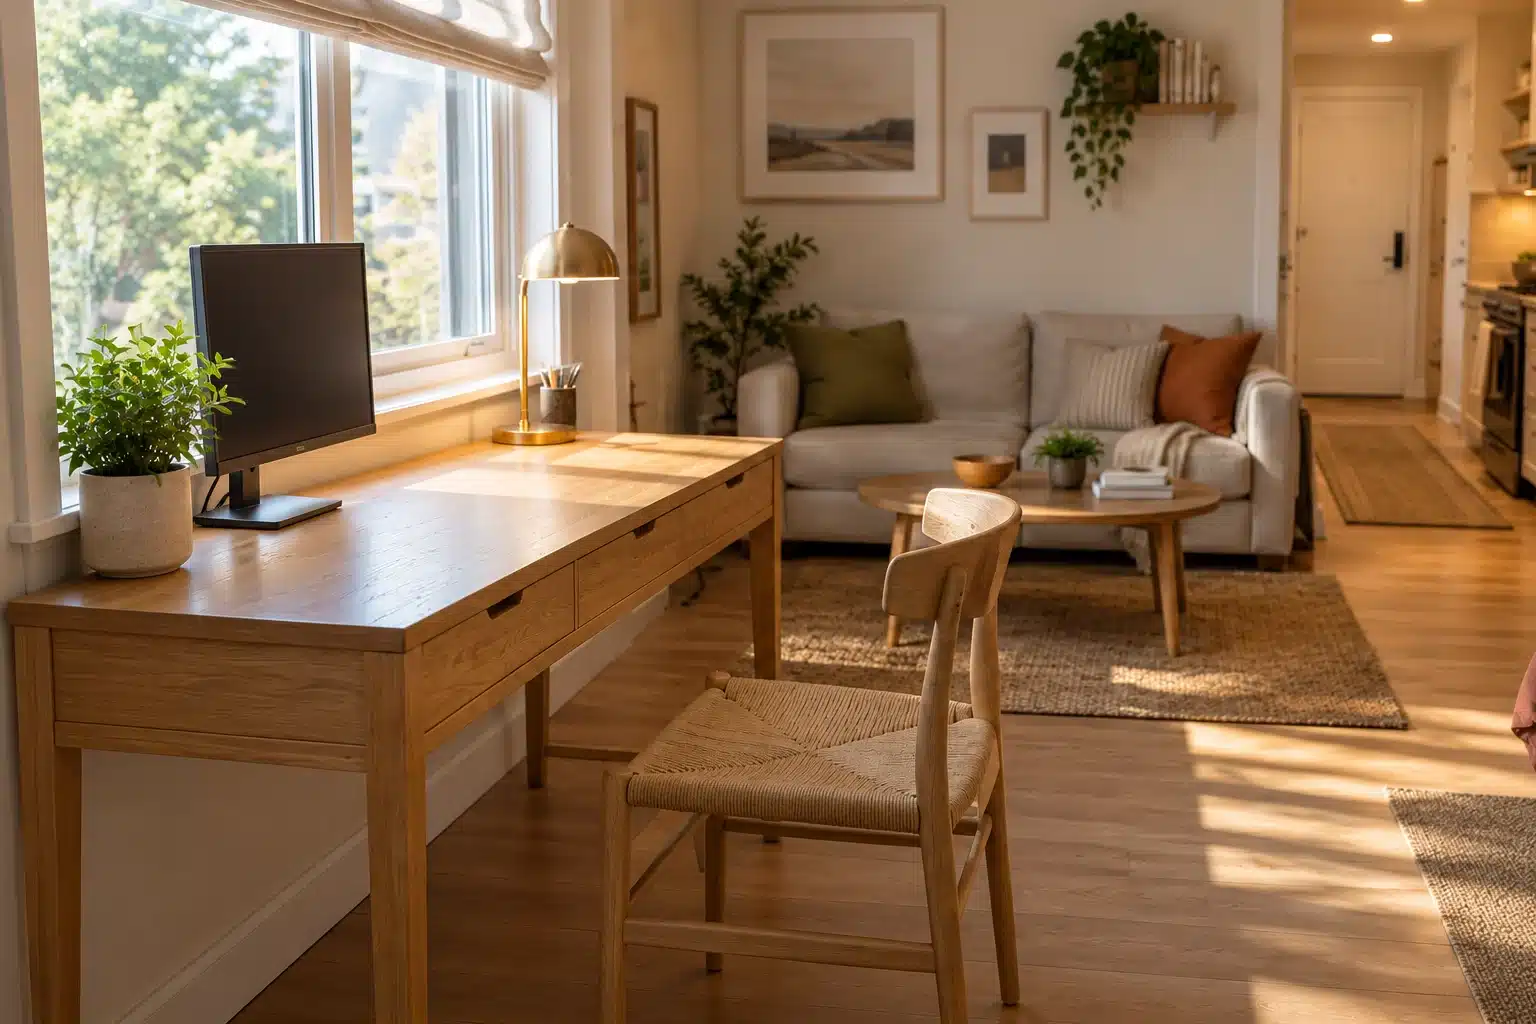
Window-side does not have to mean directly in front of the glass. Try placing the screen perpendicular to the window so daylight comes from the side. The OSHA monitor guide recommends this orientation to help manage glare and advises placing the screen directly ahead, with its top at or below eye level. Adjust for your equipment and how you see comfortably.
OSHA gives a generally preferred eye-to-screen distance of 20 to 40 inches, about 50 to 100 cm. This is not a desk-depth requirement: the position of your eyes, keyboard and screen stand changes the geometry. Check the finished setup while seated. Increasing readable text size can be more useful than leaning toward a distant screen.
Keep room beneath the surface for your legs and feet. The OSHA desk guidance specifically warns against storage that restricts that space. A wastebasket, file crate and computer tower can turn a generous desk into a cramped one. Use another storage position if these objects make you sit sideways or reach around them.
Give supplies and cables a compact home
Keep only the tools used during a normal session on your desk in a studio apartment. A notebook and headset may fit in one shallow drawer; archive papers need not occupy the desk zone. Check internal drawer width before buying, particularly if a laptop must fit inside. Allow for its case and charging lead rather than measuring only the computer.
Route power from a suitable outlet without trailing leads across the walking lane. Follow the equipment and power-product instructions. Do not assume that running a cord beneath a rug makes the layout satisfactory, or place a plug where moving furniture crushes it. If the outlet location forces an awkward route, it is a reason to reconsider the desk position.
A cable tray can collect loose leads if it fits the desk and leaves leg space, but it should not obstruct ventilation or hold equipment in a way the manufacturer prohibits. Leave enough movement for adjustable equipment. Before committing to a wall-mounted accessory or fold-down surface, check the wall, mounting instructions and rental permission.
Reset a desk in a studio apartment after working hours
A desk’s evening appearance matters in a one-room home because it remains in view from the sofa and bed. Create a short shutdown routine: close the computer, return loose supplies, remove a drink and settle the chair. One defined landing spot for unfinished notes works better than scattering them over every available surface.
For video calls, assess the background from the actual camera position. Facing a wall can put the bed behind you; facing the room can reveal the kitchen. Moving the desk a short distance or changing the camera angle may solve this without installing a partition. A virtual background is another option when visual privacy matters more than a physical boundary.
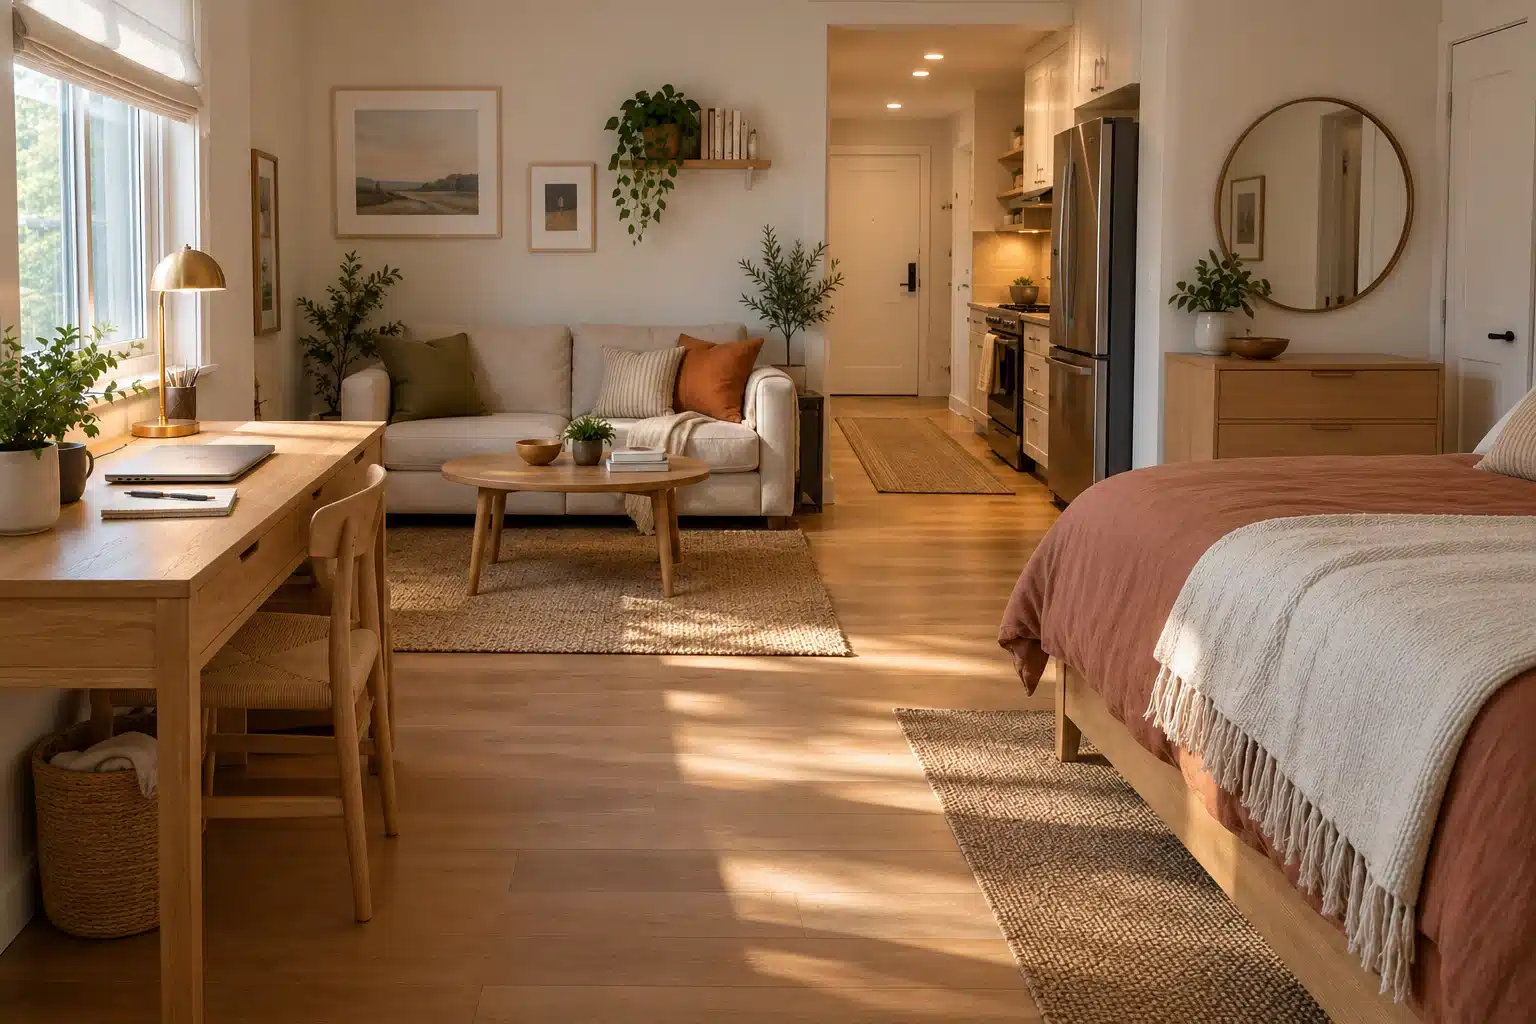
If you use a screen or curtain, refer to the room divider comparison and check its full footprint. Visual separation does not provide sound isolation. Two people working or sleeping at different times may need agreed schedules and headphones as well as a carefully arranged desk.
Try a normal day before buying extra furniture
Trial a desk in a studio apartment with the furniture you have, or a safe temporary surface that suits the task. Start in the morning, work for a normal session, prepare food, use the sofa and get ready for bed. Notice what you repeatedly move. Moving one notebook is manageable; moving a whole chair, table and lamp at every meal may be a poor match for your routine.
For example, an occasional laptop user might keep a 90 cm table available for dinner and store work tools together. A regular monitor user could give a side wall to a dedicated desk and choose a folding dining arrangement elsewhere. Neither choice is automatically better. The useful outcome is a room that supports the activities you actually repeat.
Keep window operation, heating requirements and exits usable. The NFPA escape-planning guidance calls for clear routes and doors and windows that open easily. A layout trial cannot establish building-code compliance; use your building’s requirements when planning around an exit or heater.
Compare each position for a desk in a studio apartment on a small checklist: chair movement, screen view, outlet route, storage access and evening reset. Give each check a written observation rather than a vague score. For example, note that the wardrobe opens while you are seated, or that the chair must move before someone reaches the kitchen.
Try the side wall, window side and behind-sofa positions with the same equipment where practical. Keep the desk footprint and chair consistent so the comparison concerns location. Photograph the screen position for your own reference at different times of day. Reject a position that interrupts an essential route, then choose among the remaining options according to your work and meal routine.
A worked desk placement comparison using the same work kit
Imagine a resident who uses a laptop, an external keyboard, a mouse and one notebook. Work occurs most weekdays, while the room also needs a bed, sofa and meals for two. Make one studio desk footprint using the actual equipment and a comfortable seated trial. Include the chair movement observed while getting up. Use that same footprint to test the side wall, window side and behind-sofa positions. This prevents a comparison in which one desk position appears better only because the chair space has disappeared from the drawing.
Start with the side wall. Check the outlet route and draw the nearby wardrobe doors. Place the chair in its working position, then open the wardrobe and walk toward the kitchen. A desk placement that looks efficient with the chair tucked in may fail when someone passes during work. Note whether the screen view or camera background creates another problem. If the side-wall position works, mark a supplies destination within reach that does not occupy the space your legs need beneath the desk.
Next test the window side with the same studio desk footprint. Keep the window and any equipment beneath it accessible. Place the screen as intended and observe the view during the hours you normally work. Record whether light falls on the screen or makes the display difficult to see; do not decide from a single evening photograph. Check how the chair gets into position while curtains are open and closed. A desk position that uses daylight well still needs a complete route for power and normal window use.
For the behind-sofa option, include the sofa depth, desk depth and the observed chair movement together. Decide which way the person faces and where the chair rests outside working hours. If a hypothetical 60 cm desk and 70 cm chair-movement area consume 130 cm behind the sofa, that full depth belongs on the plan. These are illustrative figures, not prescribed dimensions. Check whether the resulting furniture placement leaves a useful route beside the sofa rather than a narrow leftover strip that serves neither work nor living.
Troubleshoot desk placement without buying a complete new setup
If the chair repeatedly lands in the walking route, observe why. It may need room to turn, it may be too bulky to return under the surface, or the desk position may put the work zone directly across an everyday trip. Try moving the studio desk along the same wall and retest the actual movement. Do not assume a narrower tabletop solves a chair conflict. A different position can matter more than a small change to furniture size because the operating space remains necessary.
If a studio desk becomes the permanent home for unrelated objects, assign a small working set to its surface. Put archive papers and spare equipment elsewhere. Create a nearby home for the daily notebook and headset so clearing the desk does not involve searching for several containers. Check that the supplies destination opens while you are seated. Desk placement and storage placement need to work together: an attractive desk with a blocked drawer often creates the pile the drawer was intended to remove.
If meals conflict with work, rehearse a complete shutdown rather than just closing the laptop. Gather the charging lead, papers, keyboard and mouse in their intended container. Move the chair into the meal position and set out ordinary place settings. Then reverse the process. If the transition happens every day and requires many separate moves, compare a dedicated studio desk position with a simpler dining arrangement. If work is occasional and the transition is easy, the shared surface may be the more practical use of space.
If calls expose a background you dislike, try the camera from the actual seated position before choosing a partition. Moving the studio desk a short distance, turning its orientation or changing the camera view can alter what appears behind you. Check those changes against chair movement and screen comfort so the solution does not create a larger work problem. Where another person also uses the room, discuss call times and the activity beside the workspace. A visual boundary does not by itself solve competing sound or schedule needs.
For a rental, include mounting permission in the desk placement comparison if a fold-down surface, wall shelf or cable accessory needs fixing. Use the actual installation requirements rather than treating a wall-mounted item as a free-standing alternative. If the chosen support cannot be installed, compare a suitable existing table or freestanding desk position. Finish by checking your evening reset with the room in normal use. The studio desk should support working and returning to home activities with a routine you can repeat without moving the whole apartment.
Check the finished desk position after adding ordinary belongings
Repeat the desk placement trial after the work kit is fully set up. Add the bag, notebook, charging lead and any equipment used during a normal session. Test the supplies drawer and the chair return. A desk position can pass an empty-furniture check and still fail when a backpack lives beneath it or a charger occupies the only route to the outlet. Assign those objects their homes before judging the final footprint.
Keep the evening studio desk reset short and concrete. Return current papers to one destination, remove dishes, settle the chair and change the lighting for the activity that follows. Check that the desk position remains convenient for the next morning rather than hiding necessary equipment behind furniture. If one piece repeatedly stays on the dining table, reconsider its work home instead of extending the reset into a room-wide tidy.
Retain the successful measurements and chair-movement notes when buying. Compare an alternative product with the full studio desk footprint you tested, including leg space and the widest part of the chair. A different surface size, drawer or support can change the working geometry even when the new piece fits the same wall.
Questions about studio desk placement
Is a very shallow desk a good space saver?
Only if it supports your equipment and comfortable use. Measure the monitor stand, keyboard and mouse area, then try the setup seated. A shallow console may suit paperwork but be an awkward computer surface. Chair movement can consume more space than the depth saved.
Can the dining table double as a desk?
Yes, when the table and chair suit the task and work can clear away easily. Give the equipment a real storage home. If dinner requires unplugging and rebuilding a complex setup every night, a dedicated workspace may be more practical.
Should the desk always be by the window?
No. Window access, glare, a radiator or the main route may make a side wall better. Compare the screen view at morning and afternoon light levels before choosing. Use a suitable task light when the location needs it.
How can I separate work from sleep?
Place the desk outside the bed’s immediate working area where possible, put supplies away at the end of the session and use a different light for evening activities. A divider can change the view, but cannot create the sound separation of a separate room.