By Owen Bennett · Little Room Lab editorial team
Studio Apartments · Layout Planning
A long narrow studio apartment layout works best when you decide how to move through the room before deciding how to divide it. Putting a bed, sofa, desk, and storage unit into every available stretch of wall can leave the apartment feeling like a furnished corridor. The answer is not always smaller furniture; sometimes it is a different orientation or one fewer permanent station.
These seven studio apartment layout options give you specific ways to position sleeping, sitting, and working areas. They are options to test against your real room—not measured floor plans or claims that a particular bed fits every studio. Start with the doors, windows, kitchen, and fixtures you cannot move, then choose the arrangement that supports your daily priority.
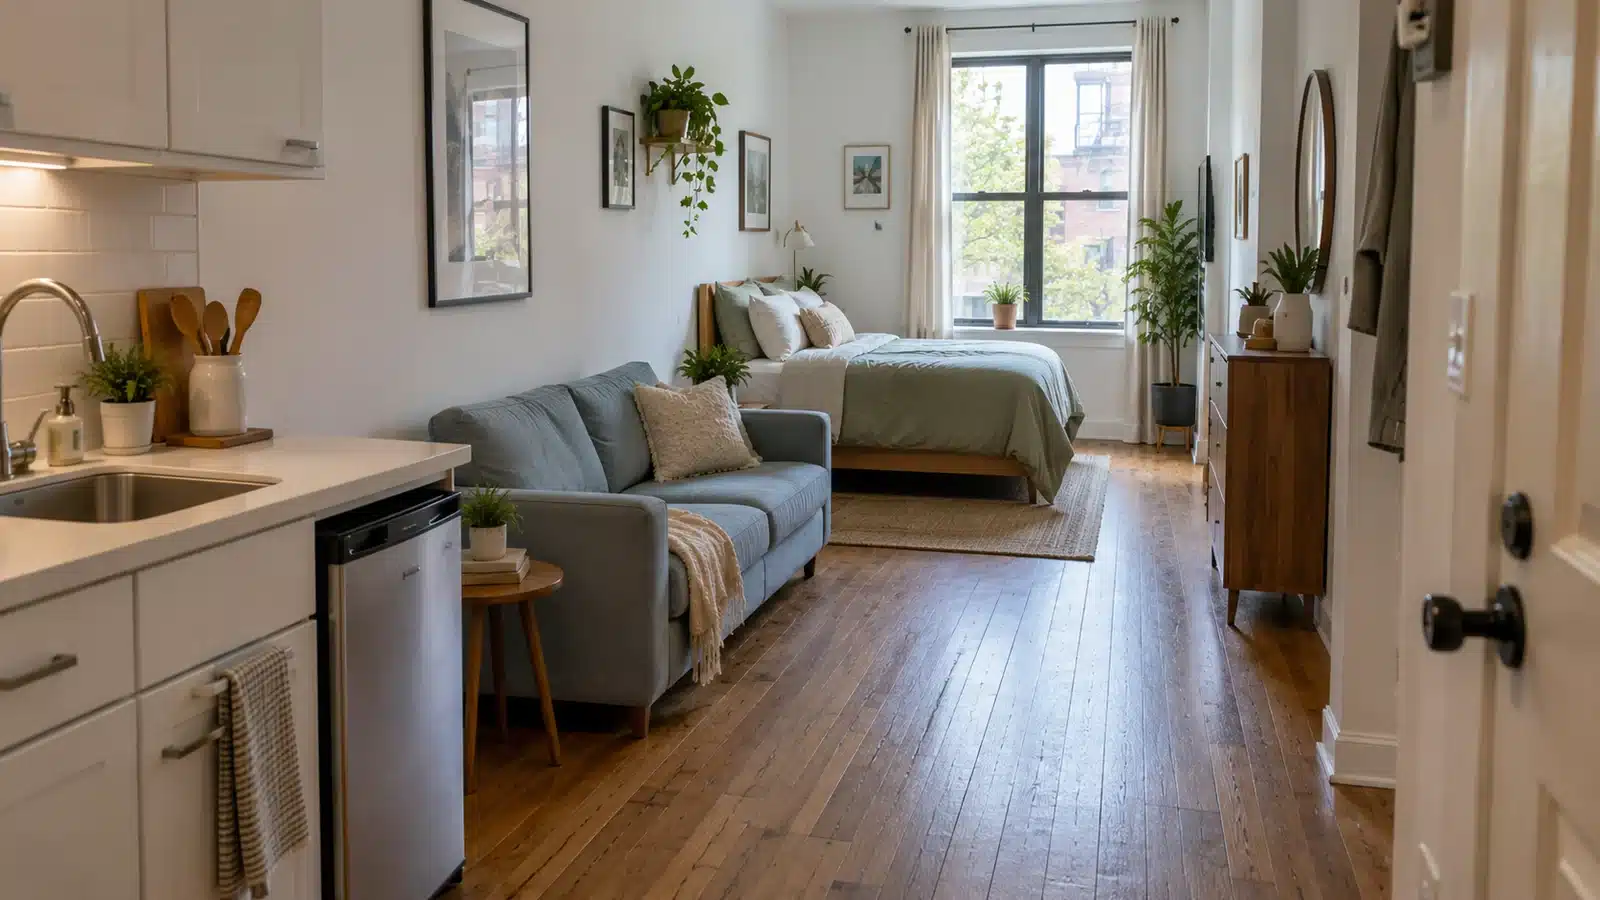
Choose a long narrow studio apartment layout by daily priority
| Arrangement | Works best when | Trade-off to test |
|---|---|---|
| 1. Single-wall sequence | The opposite side needs to remain a route | All main furniture shares one wall |
| 2. Parallel living and sleeping strips | The room accommodates furniture on both sides | Center route can become too narrow |
| 3. Bed at the far end | The end wall fits your bed and access | Bed orientation may interfere with windows |
| 4. Living by the window, sleeping nearer entry | Daylight matters most to your living area | Sleeping zone needs privacy and a clear route |
| 5. L-shaped sofa-and-bed boundary | A perpendicular sofa fits without blocking passage | The sofa back becomes a room boundary |
| 6. Workspace at the bright end | Working from home is the main priority | Sleeping and sitting share the remaining length |
| 7. Convertible living-and-sleeping zone | A permanent bed takes over the room | Daily conversion becomes part of the routine |
In this guide
Map fixed features before choosing a studio apartment layout
Sketch the room’s actual shape, including any alcove, kitchen projection, or angled corner. Mark the entrance, bathroom door, closet doors, windows, heating or cooling equipment, and outlets. Measure the narrowest room width as well as its overall length. An alcove that looks generous in a wide-angle photograph may have less useful depth than the main room.
Add the open positions of doors, drawers, and windows. A floor plan showing only closed rectangles misses the space needed to use them. Keep required exits and window access unobstructed. The U.S. Fire Administration’s escape-planning guidance specifically says doors and windows should not be blocked. A furniture arrangement is not a substitute for checking your home’s actual escape plan or building requirements.
Record the dimensions of furniture you already own, including the bed frame rather than only the mattress. Measure a desk chair in its pulled-out position and a sofa bed when fully opened. Note access needed for under-bed drawers. This is where an apparently tidy layout often fails: storage exists, but a neighboring table prevents you from opening it.
Decide what deserves the best part of the room. If you work at home every day, a usable desk may matter more than a separate dining table. If you regularly host a friend, comfortable seating may outrank an ornamental divider. Write down that priority before choosing among the seven arrangements.
A long, narrow studio apartment layout worksheet
Use one measurement unit throughout and fill in your own constraints. These fields describe what to check; they do not prescribe universal circulation widths or code compliance.
| Planning field | Your notes |
|---|---|
| Room length and narrowest usable width | ____________________________ |
| Fixed kitchen, bathroom, and closet locations | ____________________________ |
| Door and window opening areas | ____________________________ |
| Clear entrance-to-fixture route | ____________________________ |
| Bed or sofa bed footprint, open and closed | ____________________________ |
| Chair, drawer, and storage retrieval space | ____________________________ |
| Heating, cooling, outlets, and access to preserve | ____________________________ |
| Top daily priority and secondary priority | ____________________________ |
| Furniture installation and rental restrictions | ____________________________ |
7 practical long narrow studio apartment layout options
1. Run the main furniture along one long wall
Arrange the bed lengthwise at one end, seating toward the middle, and a small work or dining surface closer to the entry-side portion of the same wall. This single-wall sequence leaves the opposite side as the main route. It is a useful starting point when placing substantial furniture on both sides would crowd the room.
Vary the furniture height so the whole wall does not read as one continuous block. A low sofa between a bed and a compact table provides a visual pause without needing a screen. Keep the transitions open enough to reach each zone directly.
Watch for: a sofa arm that makes access to the bed awkward, or a dining chair that expands into the route when occupied. The arrangement should work with furniture in use, not just pushed neatly against the wall.
2. Put sleeping and living on opposite long walls
A parallel arrangement places a lengthwise bed on one side and a compact sofa or seating zone on the other. The room’s center becomes the shared route instead of a chain of separate spaces. A wall-mounted television or another suitable focal point can serve the seating without adding a deep media cabinet.
This layout is worth testing when the room is long but not extremely narrow. Measure the remaining space between the bed frame and seating, then include any table, ottoman, or pulled-out drawer. Avoid treating the center strip as spare room for another storage cart.
Watch for: the bed and sofa facing so closely that getting up feels cramped. If the central route fails, remove the coffee table or test the single-wall sequence. A parallel layout is an option, not a reason to keep furniture that does not fit.
3. Place the bed at the far end
Place the bed with its headboard against the short end wall and its length extending into the room. The area before it becomes a living zone, while a suitable low boundary can distinguish sleeping from sitting. This creates an end destination rather than carrying every function down the side walls.
Check the width for your actual bed and the access you need beside it. Preserve window operation, required access, and any heating or cooling equipment at that end. Do not copy an image where curtains conceal a blocked window or the mattress is wedged between walls.
Watch for: losing the ability to change bedding or reach storage. This works best when the end-wall position is genuinely available. If the short wall is too narrow, try a side-wall position instead of sacrificing the room’s usable route.
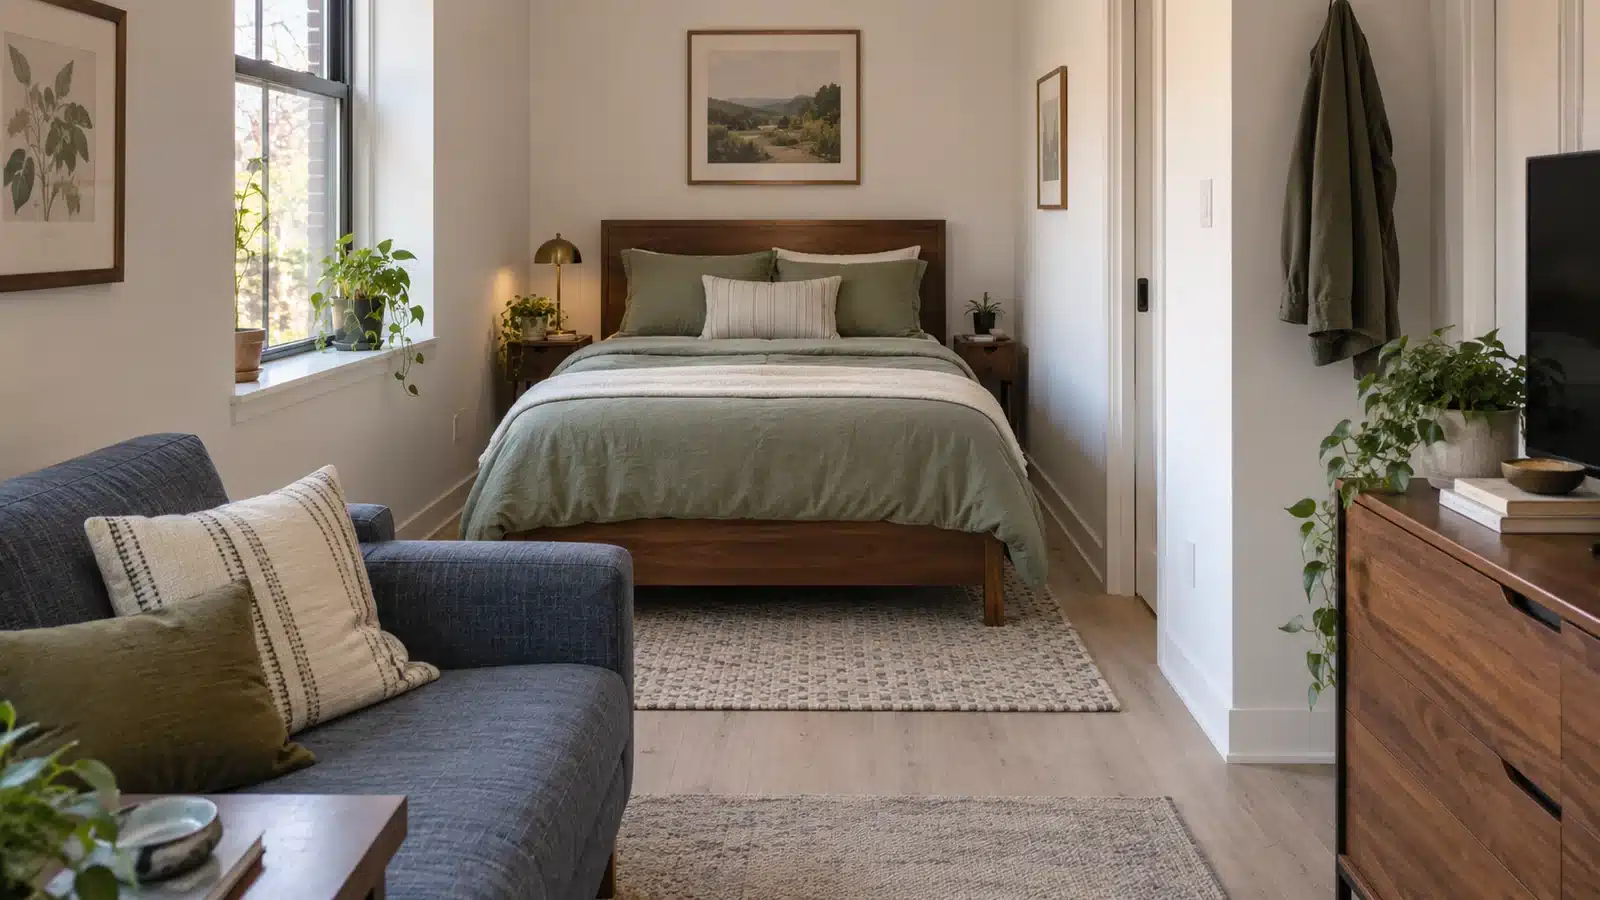
4. Put the living zone by the window and sleeping nearer the entry
Reverse the familiar bed-at-the-back sequence when you want daylight in the space you use throughout the day. Place a lengthwise bed in the entry-side portion of the main room, away from any kitchen work area, and make the window end a sitting or dining destination. A restrained privacy element can screen the bed without enclosing it.
Leave a continuous side route past the sleeping area. You should not have to squeeze between the bed and its screen every time you enter the apartment. Keep the privacy element out of door movement, and consider how much light it takes from the entry-side zone.
Watch for: placing the bed directly in the arrival path or beside an active cooking area. This is a choice for suitable room shapes, not a recommendation to move sleeping into a hallway.
5. Use a perpendicular sofa to define an L-shaped living corner
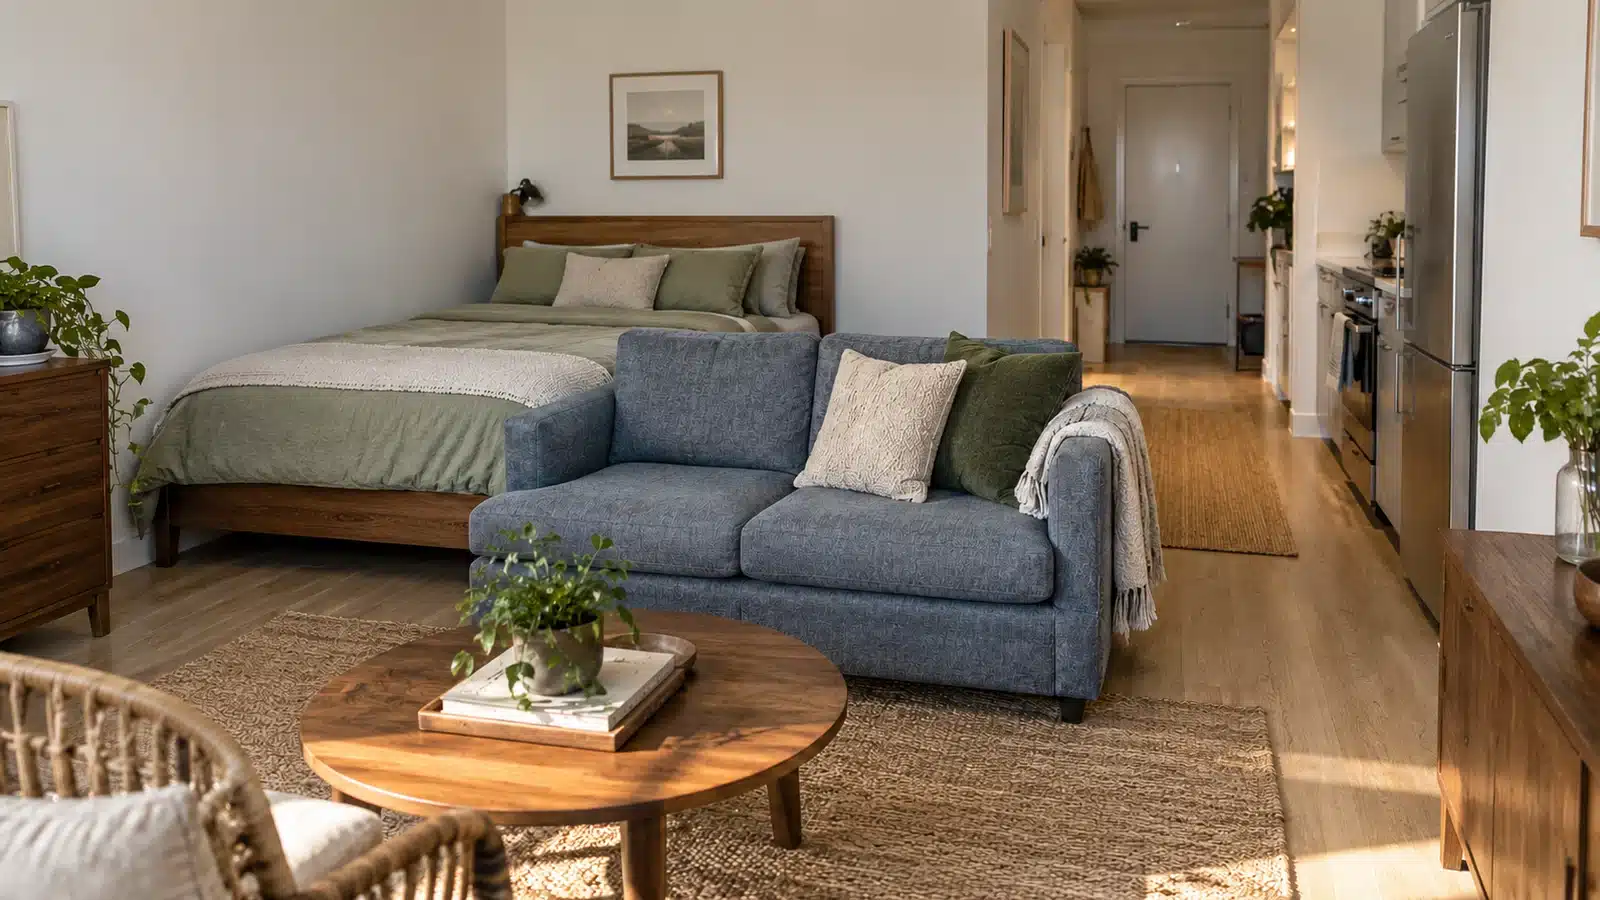
Place the bed lengthwise along a wall, then turn the sofa across part of the room near the bed’s foot. The sofa back becomes the boundary, and the seat faces the remaining living area. Unlike a separate divider, it uses a piece you already need to establish the change between sitting and sleeping.
Keep the sofa from spanning the entire room. Preserve a direct route around one end and leave access to the bed. This arrangement changes the room’s rhythm: instead of two long furniture lines, the sofa introduces a short crosswise element.
Watch for: sofa depth consuming too much length or its back becoming a dumping shelf. If the room cannot accommodate the perpendicular position, return the sofa to a long wall. The boundary should make the layout clearer, not force a detour.
6. Reserve the bright end for a work-and-dining zone
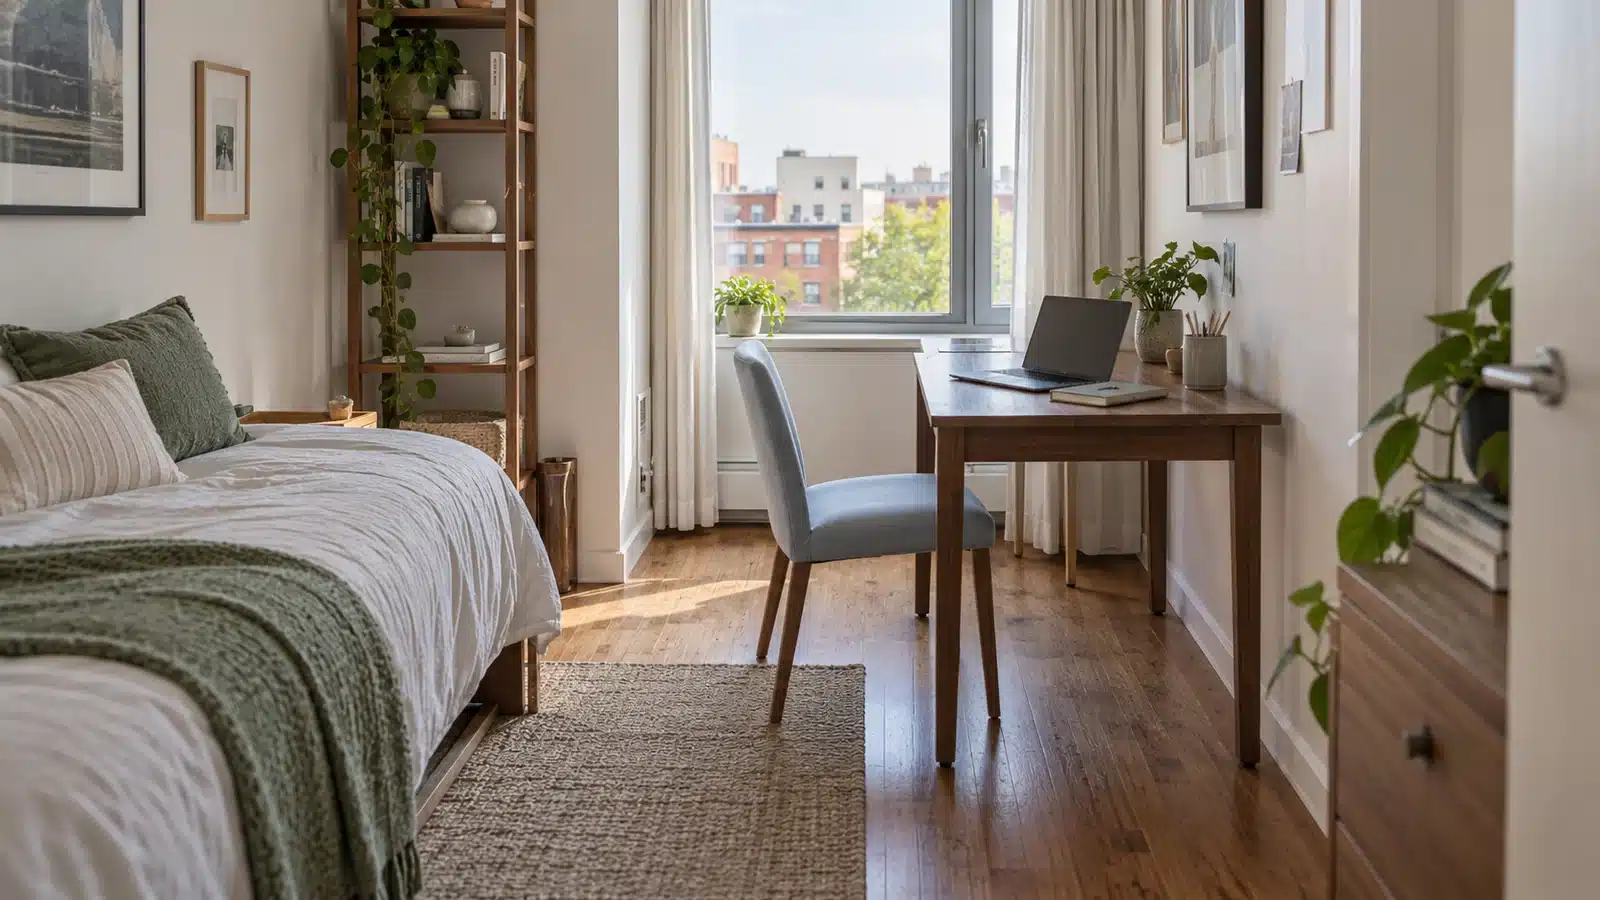
Put a desk or compact multipurpose table near the daylight end, with seating toward the entry and a lengthwise bed between those zones. The bed can sit against a long wall while a route continues beside it. This gives working a distinct destination without sacrificing the whole window end to a mattress.
Choose a table and chair combination for the actual tasks you do. If the table also serves dinner, decide where work materials go when eating. Maintain access to windows and equipment; placing a desk nearby is different from blocking them with storage.
Watch for: glare on your screen, a chair backing into the bed zone, or cables crossing the walking route. Try the workspace at your normal working hours before committing to it. The brightest spot is not automatically the most comfortable screen position.
7. Let one zone change between living and sleeping
A suitable sofa bed or other furniture designed for sleeping can remove the permanent bed footprint during the day. Place it where the fully open sleeping configuration still leaves the needed route to doors and fixtures. A mobile side table may work better than a large coffee table that has nowhere to go at night.
For a convertible studio apartment layout, plan bedding storage beside the conversion zone. If sheets and pillows live behind another piece of furniture, the daily changeover becomes more work than expected. Follow the product’s operating and installation instructions; wall beds in particular are not casual freestanding furniture projects.
Watch for: assuming the closed sofa dimensions describe the whole layout. Test the open position and where displaced furniture parks. This arrangement suits people comfortable with a routine, not anyone who wants a bed ready without daily setup.
Use storage to support the layout—not wall off the room
Put the storage category nearest its task: clothing beside the sleeping zone, work supplies beside the desk, and arrival items near the entrance. This is more useful than distributing identical baskets along every wall. Start with the belongings that lack a home, then choose a location the layout can support.
Use a divider only when it improves a real problem, such as screening the bed from the entrance. A low unit can offer a visual boundary while keeping sightlines more open, but it still needs suitable installation and clear retrieval space. Do not turn a bookcase sideways unless its maker allows that orientation.
The CPSC’s Anchor It campaign addresses furniture tip-over prevention. Follow a storage unit’s required restraints; do not omit them just because you want to use the unit away from a wall. If you cannot install a divider as required, choose a different boundary, such as furniture placement or a rug.
Closed storage can quiet the room visually, while a few open shelves keep frequently used items easy to retrieve. The mix matters less than access. Under-bed drawers that cannot open and cabinets hidden behind the sofa are storage on paper, not useful homes for belongings.
Test your studio apartment layout in daytime and nighttime positions
Sketch two versions before moving heavy furniture: a normal daytime position and the fullest nighttime position. Include open drawers, pulled-out chairs, and any expanded sleeping furniture. Mark where each displaced table or basket goes rather than leaving that decision for bedtime.
Walk the real route with normal tasks in mind: carrying groceries, bringing laundry to the closet, getting to the bathroom at night, and reaching a window. Keep doors, required exits, and fixtures usable in both versions. If you use mobility equipment, plan around your actual movement needs rather than a generic picture’s proportions.
Finally, photograph your studio apartment layout from the entrance for your own comparison. Check whether the layout has a clear main living area or only many competing fragments. Remove the least-used station if it makes every other zone work better. A studio does not need to mimic a larger home’s separate rooms to feel complete.
Compare each studio apartment layout using your own priorities
Compare the two arrangements that best address your main priority using the same furniture and room sketch. Changing the bed, sofa, and table at the same time makes it harder to tell which layout improves your routine.
Write one must-have and one preference. A must-have might be a usable everyday work position or space to approach the bed from the side you need. A preference might be seeing less of the bed from the entrance. The preference can influence the result, but it should not erase the route or task that makes the apartment usable.
| Check | Arrangement A | Arrangement B |
|---|---|---|
| Entrance, kitchen and bathroom route | Clear / revise | Clear / revise |
| Bed access and bedding changes | Works / awkward | Works / awkward |
| Chair position while working | Works / awkward | Works / awkward |
| Window and fixed-feature access | Preserved / revise | Preserved / revise |
| Daily conversion or furniture movement | Acceptable / impractical | Acceptable / impractical |
| Your stated must-have | Met / not met | Met / not met |
If daylight at the desk is your priority, compare a window-end workspace with a side-wall work position. Draw the chair pulled out, not tucked away. If a permanent bed is the priority, compare the single-wall sequence with a bed at the available far end. Include the furniture displaced by each choice rather than letting it disappear from the sketch.
Reject an arrangement that fails a necessary route or fixed-feature check instead of averaging that failure against several attractive features. For the remaining options, decide which daily inconvenience you would rather accept: moving a chair, converting sleeping furniture or having less visual separation.
Keep the first trial reversible. Reposition existing pieces before ordering a divider or replacing the largest furniture. Your comparison should explain why one layout suits your routine; it does not establish universal clearance, accessibility or code compliance.
Studio apartment layout mistakes in a narrow room
- Dividing before measuring: a screen can consume the only useful passage.
- Making every activity permanent: occasional dining may share a work surface.
- Ignoring expanded furniture: test sofa beds, drawers, and chairs in use.
- Following symmetry at any cost: two matching storage walls may crowd the center.
- Blocking light or access: a window is not simply a backdrop for a headboard.
- Buying a divider first: try bed and sofa orientation before adding another large object.
Before selecting a studio apartment layout, make a short list of furniture that must remain and furniture that can move or leave. Compare two arrangements with that same list. Record where each chair goes during a meal, where bedding waits during conversion and which door opens beside an occupied seat. These observations make the tradeoffs visible without pretending the concept diagrams describe your room.
Choose one arrangement for a normal-day trial. Check morning dressing, meal preparation, work, relaxation and getting into bed. Write down the repeated move that bothers you most. Change one furniture position and repeat that action. A layout that avoids one daily conflict can be more useful than a plan offering an extra zone you seldom use.
Keep a practical record of the selected narrow-room plan
Write which studio apartment layout you selected and why its sleeping zone, seating and meal position work better for your day. Keep the measurement sheet beside that decision. When a new piece arrives, compare it with the same route and operating footprints rather than assessing it in isolation. In a long, narrow studio, an extra projection can affect several activities along the room. Keep the living zone connected to the route even when a chair is occupied. Revisit the relevant layout options if the change creates a recurring conflict, keeping the original successful actions as your comparison.
Studio apartment layout questions
Where should the bed go in a long, narrow studio?
Test a lengthwise side-wall position first if width is tight. A bed at the far end, with its headboard on the short wall, can work when the actual bed, side access, and fixed features fit. Prioritize usable routes over making the bed disappear.
Should I put all furniture against the walls?
Not necessarily. A perpendicular sofa can define a living zone in a suitable room. In a very narrow studio, keeping larger furniture beside one wall may be more practical. Measure the resulting route either way.
How do I separate sleeping without building a wall?
Try orientation, a sofa back, a rug, or an appropriately installed low boundary. Use the least additional furniture that solves the privacy problem. A tall divider is not required for every studio.
Can a studio have a separate workspace?
Yes, if the room supports a usable desk position and chair movement. A window-end workspace is one option. A table that serves both work and dining can preserve room for sleeping and sitting.