By Owen Bennett · Little Room Lab editorial team
Laundry Room · Small-Space Planning
The most useful small laundry room ideas leave the washer ready to wash. That sounds obvious until a beautiful countertop covers a top-loading lid, a shelf blocks its opening, or a hamper makes the dryer difficult to reach. A top-loader needs a different storage plan from the front-loading machines that appear in many inspiration photos.
Keep the working appliances where their installation permits, then build storage around the movements of laundry day. These eight setups separate supply storage, sorting, folding, and drying without assuming you have room for a full renovation. Some belong beside the machines; others deliberately move a task outside a cramped laundry area.
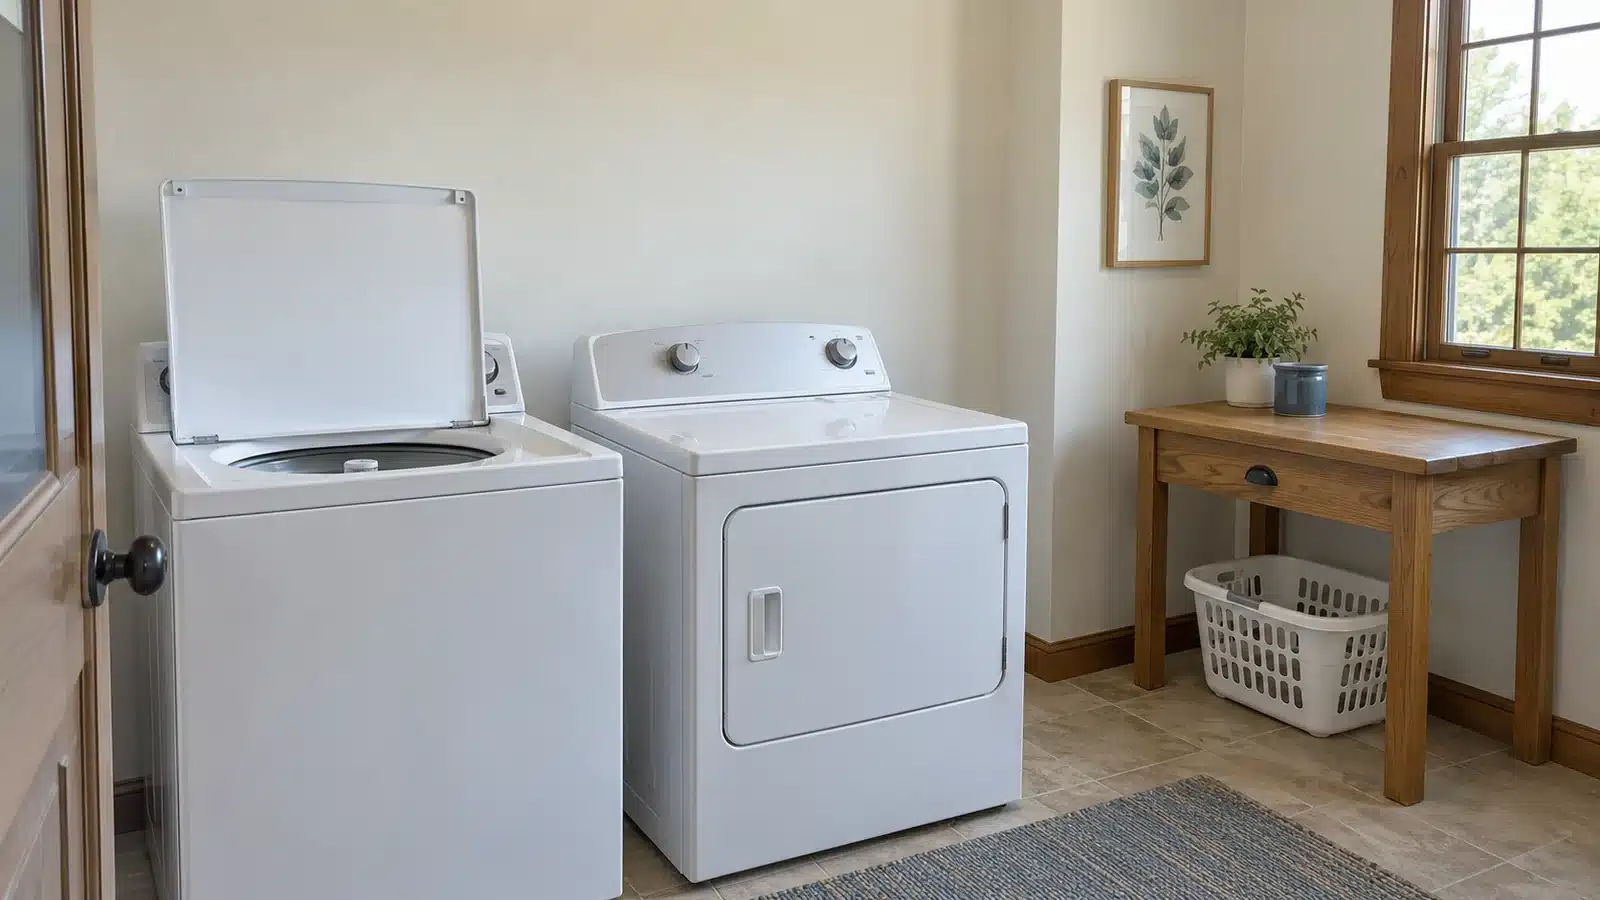
Choose small laundry room ideas by your biggest bottleneck
| What is missing? | Start with | Main trade-off |
|---|---|---|
| A folding surface beside the machines | Independent side worktable | Uses a real piece of floor area |
| Surface space in a narrow room | Fold-down station on another wall | Needs suitable mounting and open-use space |
| Easy supply access | Closed side cabinet | Door swing and installation must fit |
| Somewhere for sorted clothes | Compact hamper station | Capacity is limited to what you can process |
| Almost no spare space at all | Remote folding and supply zone | Tasks happen in more than one room |
In this guide
Measure the small laundry room with the lid fully open
Record the actual top-loader model before planning shelves. Open the washer lid fully and measure the highest point and the space the lid moves through. Notice whether it tilts toward the wall, exposes a control panel, or approaches an existing cabinet. The closed machine’s height is not the same as the space required to use it.
Whirlpool’s laundry-space guide specifically calls out top-load lid clearance and checking the model’s use, care, and installation instructions. Use your own appliance documentation for required clearances around hoses, ventilation, and nearby storage rather than treating a generic photograph as an installation plan.
Next, open the dryer door and room or closet doors. Move an empty basket through the route from hamper to washer to dryer. Account for where you stand while reaching into the drum. A shelf can be physically outside the lid’s path and still be inconvenient if you must stretch across the open machine to retrieve a bottle.
Draw the hookup and service locations on your sketch. Do not relocate utilities, modify ventilation, or squeeze cabinets into required appliance clearances as an organizing project. Renters should keep those changes with the landlord and an appropriate installer. The ideas below reorganize tasks and storage; they do not certify a new appliance installation.
A top-loader laundry planning worksheet
Fill in the measurements and movement checks before choosing storage. Use the same unit throughout. Leave appliance-required clearance values to the actual installation instructions, not a guessed standard.
| Field | Your notes |
|---|---|
| Washer model and manual location | ____________________________ |
| Lid fully open: height and movement envelope | ____________________________ |
| Dryer door and laundry-door movement | ____________________________ |
| Clearances required by appliance instructions | ____________________________ |
| Usable space outside those clearances | ____________________________ |
| Hookup, vent, and service access to preserve | ____________________________ |
| Basket route and standing position | ____________________________ |
| Folding and drying location when in use | ____________________________ |
| Secure supply location and installation permission | ____________________________ |
8 practical setups for a small laundry room with a top-loader
1. Put an independent worktable beside the machines
A compact worktable can provide a landing spot for the empty basket and a surface for folding finished clothes. It should stand on its own rather than transferring weight to the washer or dryer. Position it beside the appliance pair only when the room has usable space beyond the installation clearances and the basket route.
Check both the table’s footprint and what happens beneath it. A removable basket can tuck under an open table, but a large drawer may project into the route when opened. You may prefer a plain surface with no lower storage if bending and retrieval become awkward.
Choose this when: you genuinely have a side bay. Skip it when: it crowds the loading position. A decorative narrow console that cannot hold your normal folding task is not necessarily an improvement over the dining table.
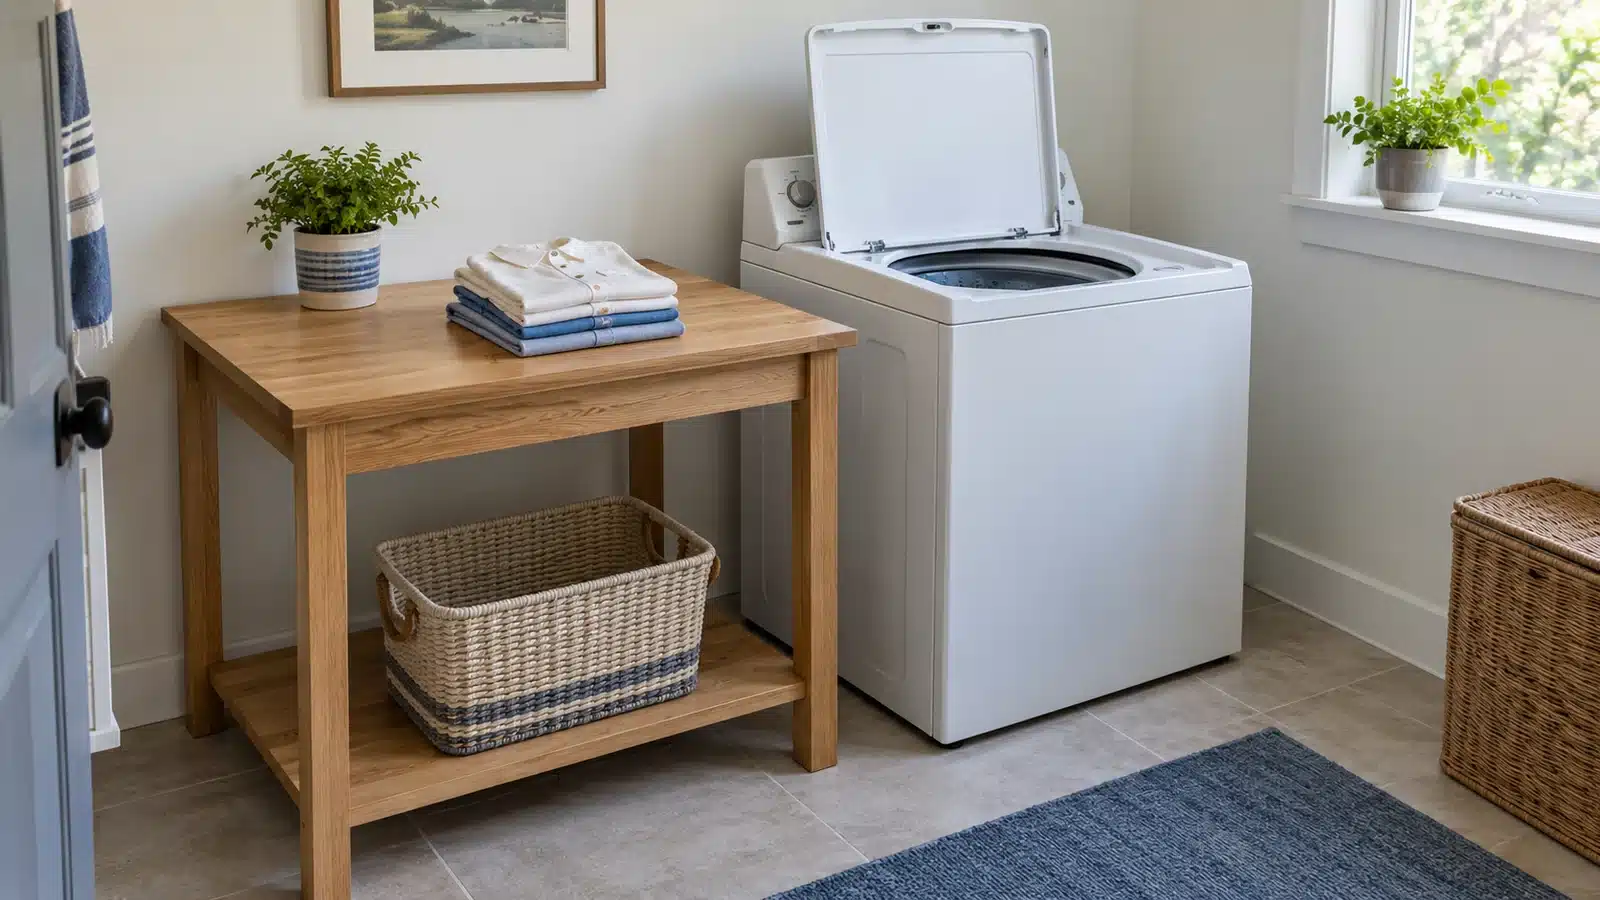
Trial this small laundry room position with the empty basket, your folding motion and the appliance doors open. Give completed clothes a destination too. If the surface repeatedly becomes overflow, finish one load before introducing another table or basket.
2. Use a fold-down station on a separate wall
A fold-down surface can keep the room open between laundry sessions. The important measurement is not its closed depth; it is the room left when the panel is down and you are standing in front of it. Choose a wall away from the washer lid, dryer door, and required appliance access.
Follow the product’s wall, mounting, and loading requirements, with rental permission where needed. Use the finished surface for the tasks it is designed to support, not as a workbench or a place to climb. Decide where the basket will go while you fold; otherwise it will occupy the space you just reclaimed.
Choose this when: suitable wall space and a usable open position exist. Trade-off: you set it up each time, and leaving it loaded defeats the folding feature. It is less suitable if that wall is also your only passage.
Mark the panel and your standing or chair position together. A small laundry room can fit the closed product yet fail when it is deployed. Include nearby doors and the basket, then use the exact mounting and support instructions.
3. Park a mobile cart beyond the appliance working zone
A rolling cart can carry clothespins, garment-care tools, or an empty transfer basket to where the task happens. Give it a permanent parking spot outside the lid swing and the required installation space. Do not assume the visible gap between machines is available: the appliance instructions and your ability to reach controls come first.
Choose cart storage for the items that benefit from mobility. Do not turn an open low shelf into a detergent display accessible to children. Supplies needing secure storage belong in an appropriate closed location, even when that is outside the laundry area.
Choose this when: the cart has both a parking place and a working destination. Trade-off: it introduces one more object to move. If you must relocate it every time you open the washer, its parking spot is wrong.
Name the cart contents before assigning its parking place. In a small laundry room, a light accessory cart is useful only when it improves a task and has a clear return location. It should not occupy required spacing or service access.
4. Add overhead storage only beyond the open-lid envelope
A shallow wall-mounted storage unit may work above the appliance area when the fully open lid, controls, required clearances, and your own reach all permit it. Plan its bottom edge and projecting depth together. A shelf that appears high enough from the front can still collide with a lid moving backward.
Keep the contents light enough and the installation suitable for the system’s instructions. Use this location for occasional accessories or a modest stack of clean linens rather than heavy products you must retrieve while leaning over the washer. A deeper cabinet is not automatically better storage if you cannot see or reach the back.
Choose this when: actual measurements leave a workable storage zone. Trade-off: high storage is less convenient. If overhead space is unsuitable, move storage to another wall instead of reducing how far the lid opens.
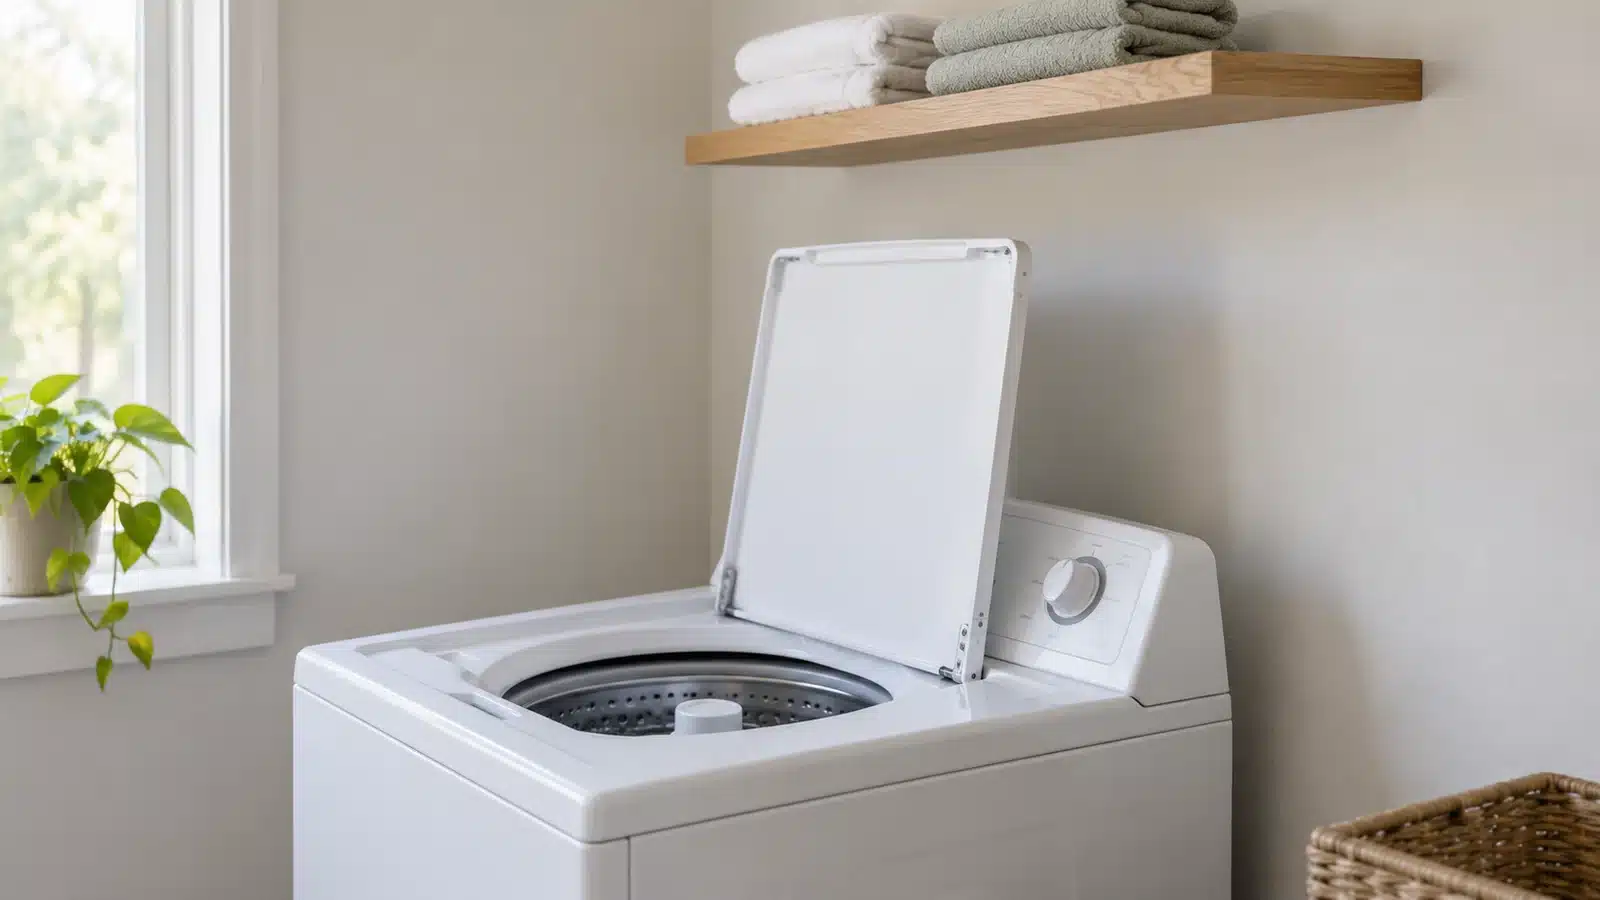
Check the intended contents at your normal reaching position. A small laundry room shelf that requires leaning across the open washer may be a poor daily location even after lid clearance is confirmed. Use another suitable storage area for those items.
5. Give supplies a closed side cabinet
A cabinet on a separate wall or in a genuine side bay can keep supplies together without using the top of the washer. Plan it around the largest original container and the door’s open position. Assign one accessible area to current products and a smaller area to replacements rather than stocking duplicates across several shelves.
The American Cleaning Institute’s packet-safety guidance recommends keeping laundry packets in their original containers, closed and out of children’s reach and sight. Use secure storage appropriate to your household; attractive jars are not a substitute for original packaging.
Choose this when: suitable installation and door access are available. Trade-off: it takes more room than an open shelf. Follow any required furniture restraints, and do not place the cabinet where it blocks access to plumbing or ventilation.
Check each original product label before choosing its cabinet location. Keep flammable liquids and vapors away from the dryer, preserve ventilation and access, and use secure storage appropriate to the household. A small laundry room does not need to hold every backup product.
6. Build a modest sorting station away from the loading position
A small set of removable hampers can separate clothing groups without covering the floor with loose piles. Match the number of containers to how you actually wash. If you sort immediately before each load, one household hamper and one portable sorting basket may be more useful than a three-bag station.
Position the station where full bags can be lifted out without scraping a wall or dragging past an appliance door. Check handles and the space your hands need around them. Keep clean-laundry baskets separate so a newly finished load does not return to the same crowded pile.
Choose this when: sorting is your main bottleneck. Trade-off: larger hampers can hide a growing backlog. Choose the volume you can regularly process, not the maximum number of bags that fit on the floor.
Observe one ordinary interval between wash days before choosing hamper capacity. A small laundry room sorting system should help clothes reach the next stage. If clean loads regularly wait in baskets, improve the receiving drawer or wardrobe routine before increasing collection capacity.
7. Reserve an actual open position for a drying rack
A collapsible rack or suitable wall-mounted drying system can disappear between uses, but garments still need a usable place when hanging. Check the rack fully open with the longest item you normally dry. Sleeves and hems should not fall across appliance controls, into a door swing, or onto the room’s only walking route.
Follow garment care labels and the rack’s installation and loading instructions. Keep drying separate from finished-clothing storage so damp garments do not hang over a stack of clean towels. If the laundry area cannot support a clear open position, choose a better-ventilated appropriate location elsewhere instead of forcing it over the machines.
Choose this when: you have a realistic in-use location. Trade-off: the room must accommodate garments, not just the folded rack. A compact product can still become a large obstacle when loaded.
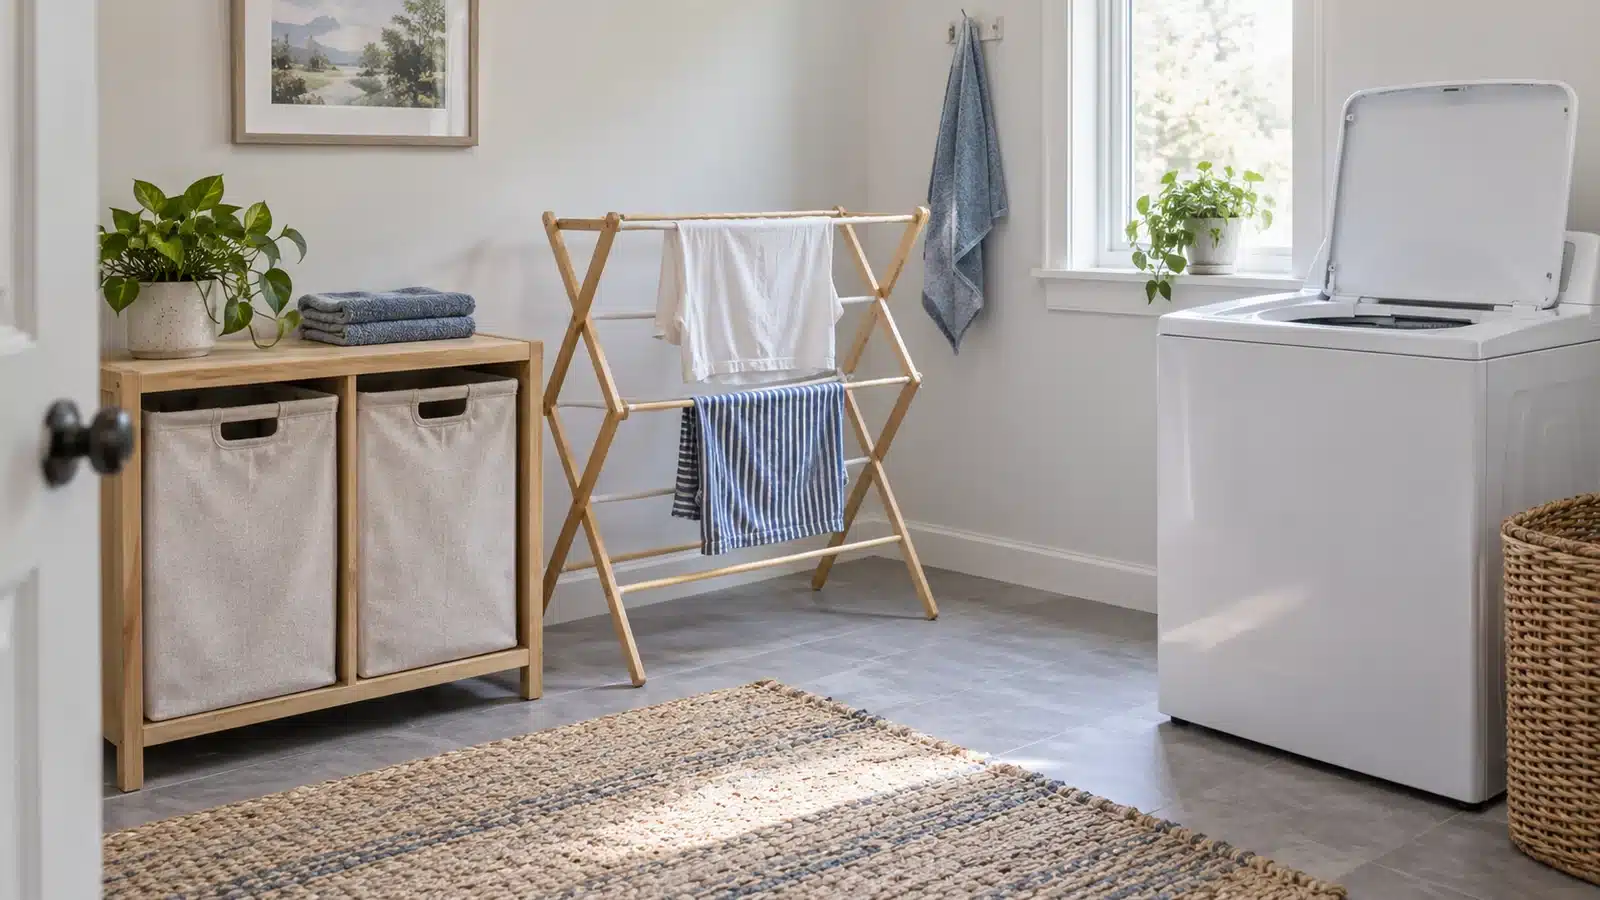
Include the loaded rack in the small laundry room sketch and keep fabric away from the dryer exhaust route, specified air paths and service points. If a usable position is unavailable, plan the drying stage in another suitable location rather than crossing appliance access.
8. Move folding and backstock to a nearby room
A laundry closet may need to do only two things: hold the installed machines and let you use them. Fold at a cleared dining table, store spare linens near the bedroom, and keep replacement supplies in a secure nearby cabinet. Carry the current load in one basket rather than trying to give every laundry task a permanent station in the closet.
Give the remote location a simple routine: clear the surface, bring the clean load, fold, then return the basket and supplies to their homes. Do not let the folding station become an indefinite pile that makes another room unusable.
Choose this when: there is no genuine spare working space around the appliances. Trade-off: laundry spans two locations. That is often more practical than fitting a permanent counter that prevents the top-loader from doing its job.
Make a household load-and-put-away worksheet
Before adding hampers, trace the load that most often stalls: everyday clothing, bulky bedding, or air-dried items. Give clean laundry an owner, a destination, and a time to leave the basket.
Use the worksheet below for one clothing group at a time. Record the care-label requirements rather than inventing a single washing or drying setting for everything. Leave the appliance’s loading limits to its own instructions. The organizing question is where each stage happens and who completes it, not how much you can force into a machine.
| Decision | Your household’s answer |
|---|---|
| Clothing group and care needs | ____________________________ |
| Collection location and person starting the load | ____________________________ |
| Empty basket waiting location | ____________________________ |
| Dryer or open air-drying destination | ____________________________ |
| Folding surface and person finishing the load | ____________________________ |
| Closet, drawer or linen shelf receiving it | ____________________________ |
| What must be cleared before the next load? | ____________________________ |
If washing progresses but putting away does not, adding another sorting bag may only enlarge the backlog. Check whether the receiving drawer is overfilled or whether clean clothing needs to be divided between household members. A portable basket assigned to a destination can be more useful than a large permanent station in the laundry room.
For air-dried items, include the rack in its loaded position. Decide where those garments go after drying so the rack can close again. For bedding, check that a cleared folding surface exists before starting the load. These are handoff decisions: each stage should have somewhere to send its result.
Agree on one achievable completion rule, such as returning the empty basket after putting clothing away. Review the plan after your normal laundry cycle. Keep only the stations that help the household finish; a smaller room cannot compensate for a missing destination.
Make the small laundry room workflow easy to reset
Trace a single load from dirty clothing to put-away clothing. Identify where you sort, where the empty basket waits, where clothes move after washing, and where folding happens. These locations do not need to line up on one wall. They do need to avoid competing for the same small patch of floor.
Keep a finished-load landing spot empty. It might be the side table, a basket under the table, or a cleared surface elsewhere. Without that destination, clean clothes often remain on top of the machine while the next load needs attention.
Separate organizing from maintenance. Storage should let you follow the appliance’s cleaning and service instructions without dismantling the room. Keep the area around required access points clear. Report leaks, unusual operation, or damaged connections rather than using an organizer to conceal them.
Test the room with the lid and dryer door open, a full basket in your hands, and the folding or drying equipment deployed. If every task requires moving three objects first, remove a storage piece. A quieter-looking room with fewer stations can be the more complete system.
Small laundry room planning mistakes
- Copying a front-loader counter: a continuous surface across the machine blocks a top-loading lid.
- Measuring only closed equipment: check every moving part and the space needed to use it.
- Treating clearances as spare storage: required appliance space stays available.
- Decorating with detergent: use original packaging and secure household-appropriate storage.
- Adding a rack without an open-use plan: garments need room beyond the rack’s folded footprint.
- Oversizing the sorting station: a hamper should help process clothes, not hide a growing backlog.
Small laundry room questions
Can I put a shelf above a top-loading washer?
Possibly, if the actual model’s installation instructions, fully open lid, control access, and reachable shelf position allow it. Measure the lid’s movement and the shelf’s projecting depth. There is no one shelf height that works for every machine and room.
Where can I fold clothes without a counter?
Use an independent side table, a properly installed fold-down surface on another wall, or a cleared surface in a nearby room. A permanent laundry counter is optional; using the washer is not.
Can a top-loader go under a fixed countertop?
A fixed counter that covers the lid prevents normal loading. Plan the work surface elsewhere. Do not modify the lid, controls, or safety features to make an inspiration photo fit your appliance.
What is the first thing to improve in a laundry closet?
Clear the loading position and basket route. Then identify the one task that still lacks a home. Solve that bottleneck before buying a complete room of organizers.