By Owen Bennett · Little Room Lab editorial team
SMALL APARTMENT STORAGE
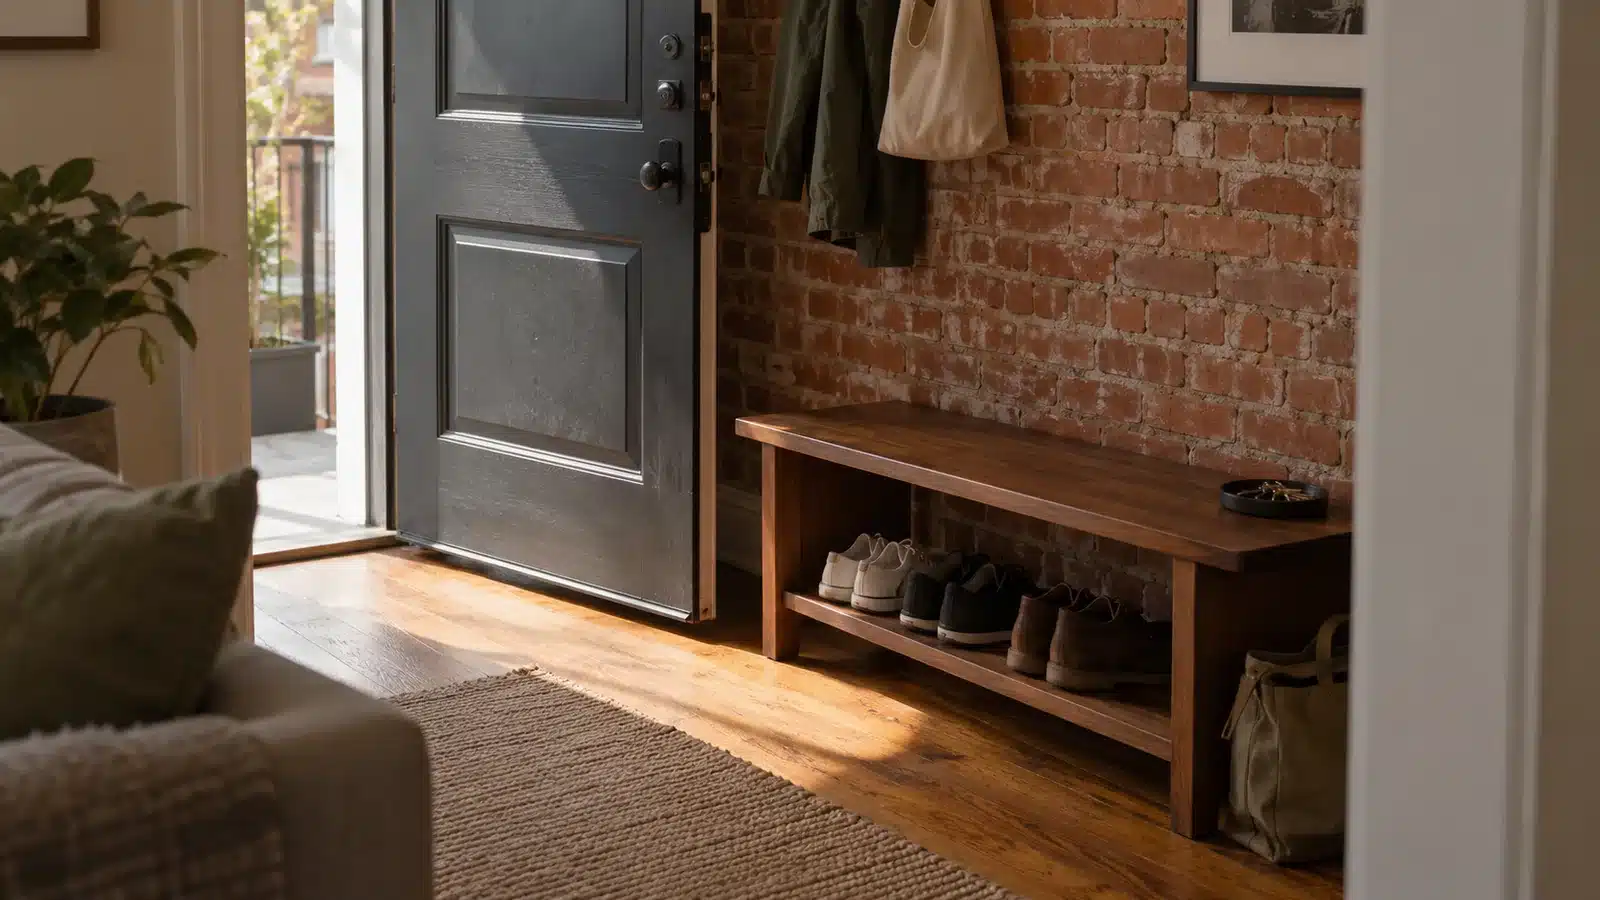
When your front door opens straight into the living room, shoes become part of the furniture arrangement. A rack may crowd the doorway, a pile may spread beneath the sofa, and a closed cabinet may look tidy without fitting the boots you actually wear. Good shoe storage for small apartments starts by separating the everyday pairs from the rest.
These 10 options for shoe storage for small apartments with no entry closet cover open racks, compact benches, shallow cabinets, bedroom storage, and seasonal rotation. You do not need all of them. Choose an easy arrival spot for current shoes and a second home for occasional pairs, then make sure neither gets in the way of living in the apartment.
In this guide
Plan shoe storage for small apartments around your real footwear
Open the entrance door completely, then walk in carrying a bag. Mark the space you need to turn, put the bag down, and continue into the apartment. Keep shoe storage out of that movement. A narrow wall is not automatically spare storage space if it is also where the door opens.
Measure the proposed storage location, including baseboards and any nearby door or drawer movement. Check outlets, heating equipment, and features that need access. There is no single clearance number in this guide because your apartment and furniture determine what is practical; follow applicable building requirements and product instructions rather than copying an imagined diagram.
Now sort the shoes. Count current everyday pairs separately from dress shoes, sports footwear, and seasonal boots. Include the pairs used by each person who lives there. The entrance does not have to hold the whole collection. It needs to hold the pairs that would otherwise form today’s pile.
Put your largest shoes beside an empty box or shelf to check width, depth, and height. Bulky sneakers, tall boots, and delicate heels do not use space the same way. A manufacturer’s estimated pair count is not a promise that your footwear collection will fit.
Shoe storage for small apartments: 10 options to compare
1. A low open rack for everyday pairs
Choose it when: you have a small amount of floor space beside the entrance and want the fewest steps between taking shoes off and putting them away.
An open rack makes pairs visible and easy to retrieve. Keep its role narrow: current shoes only. Put occasional footwear elsewhere so the rack does not become a tower of overlapping pairs. Choose shelves that accommodate your actual footwear, including the tallest everyday pair.
Set the rack parallel to the wall if that leaves the route usable. Test it with shoes on the shelves, because toes and heels may extend beyond the frame. A rack that looks small when empty may take up more practical space once loaded.
Trade-off: shoes remain visible. If seeing them bothers you, consider a purpose-designed cabinet rather than putting a curtain or cover over a crowded rack.
2. A compact shoe bench with useful lower storage
Choose it when: sitting to put shoes on is important and the entrance can accommodate a bench without narrowing the route too much.
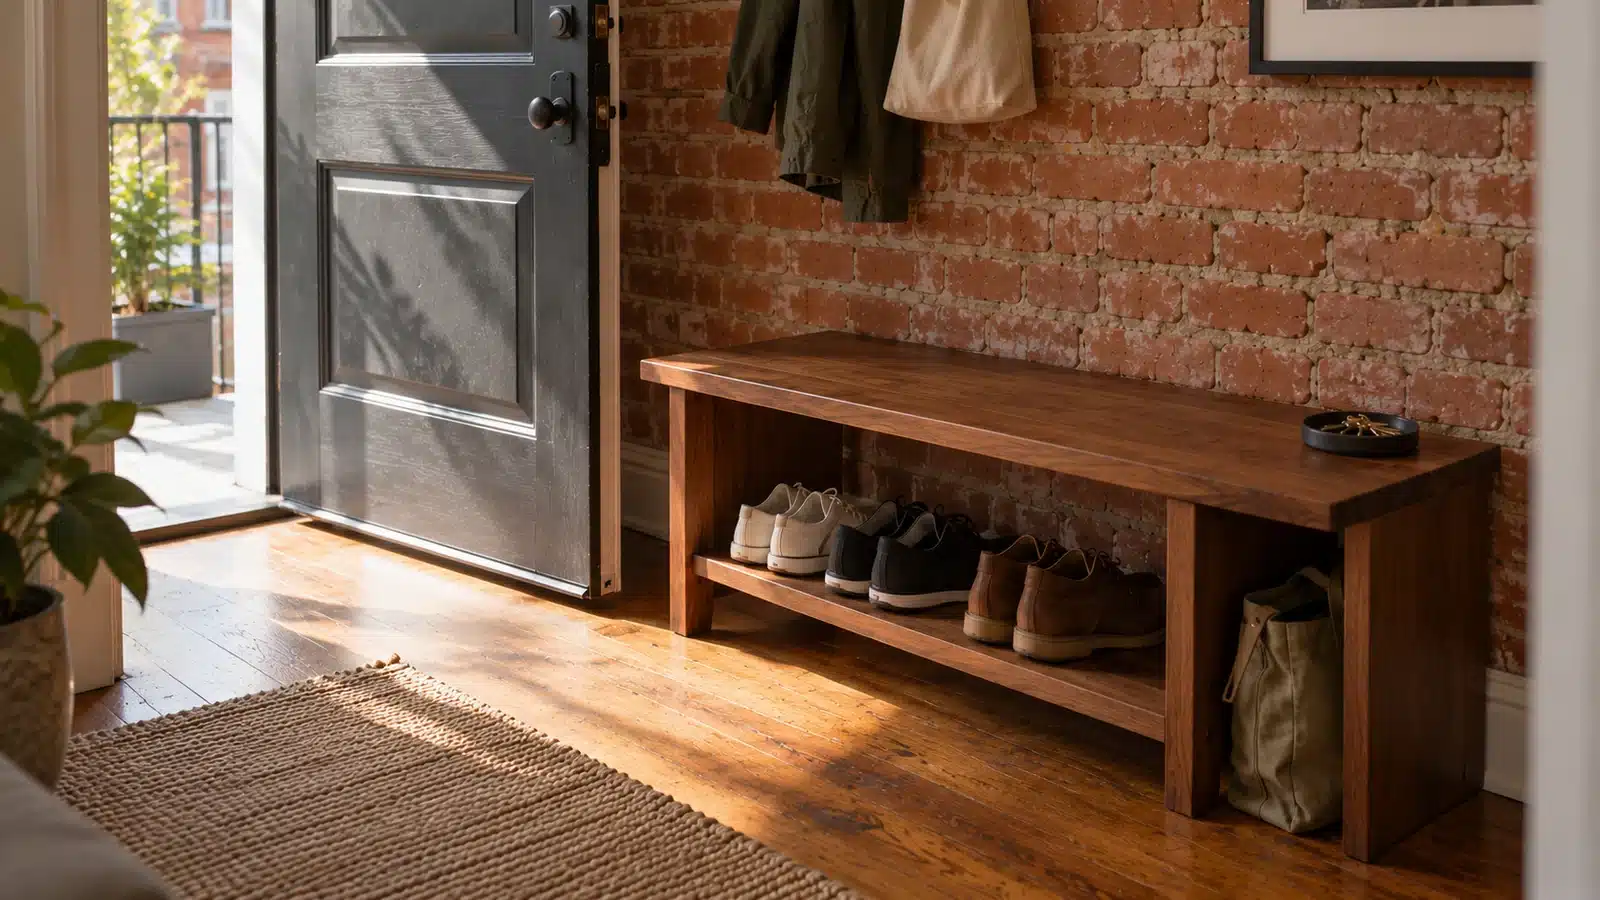
A bench can combine seating and an everyday shoe zone, but confirm it is designed for sitting. Give each person a defined lower section or basket. Leave room for a taller pair if boots are part of your routine. A bench with no usable opening beneath it may not solve much shoe storage.
Measure its full footprint and any opening lid. If the bench holds bags on top, it will stop being a seat. Give bags a separate destination so the extra function stays available.
Trade-off: seating usually needs more floor area than a simple rack. Choose it for a real need, not just because an entry photo looks welcoming.
3. A shallow cabinet on a suitable wall
Choose it when: you want shoes concealed and can follow the cabinet’s installation requirements.
A tilt-out cabinet may use less depth than a conventional shelf, but check how the compartments work with your shoes. Large footwear may not fit in the arrangement shown in a product photo. Look at the open cabinet dimensions and any dividers, not just the exterior.
Do not assume a shallow cabinet is freestanding or no-drill. For example, IKEA’s STÄLL product page explicitly requires wall fastening. That is a product-specific requirement, not a detail to omit because you rent. Obtain permission for appropriate installation or choose another option.
Trade-off: a tidy exterior can conceal inconvenient compartments. Check access, ventilation features, and installation before choosing one.
4. A removable tray for the pairs that come home dirty
Choose it when: rain, mud, or winter weather makes the usual shoe zone difficult to keep clean.
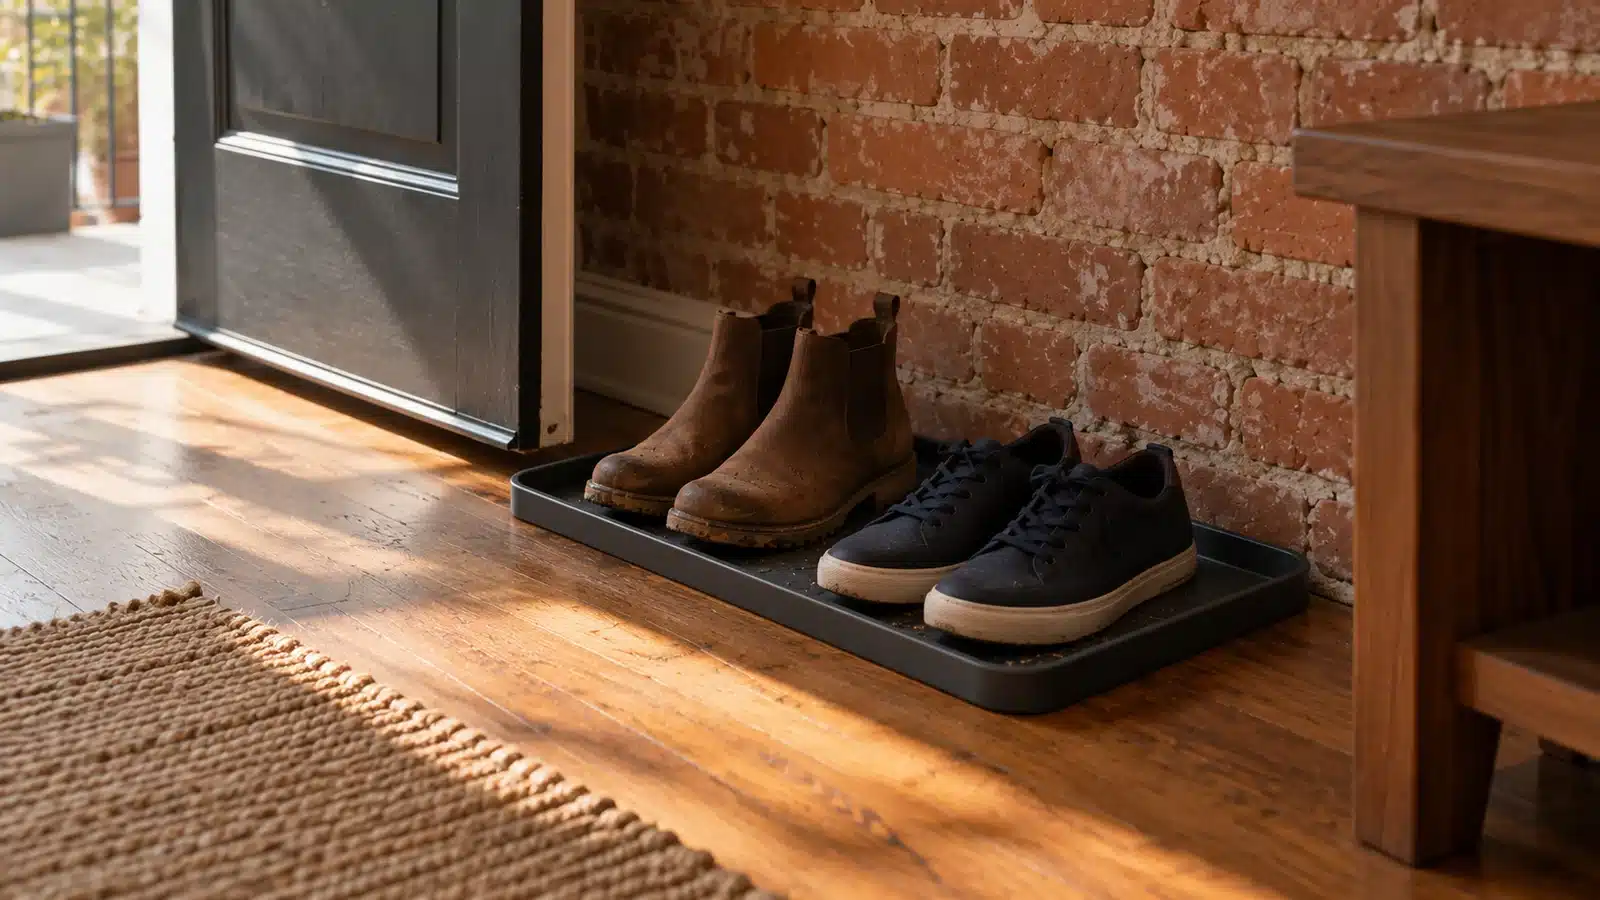
A tray gives incoming footwear a contained spot while you deal with moisture and debris. Keep it small enough to fit the landing zone without crossing the walking route. Clean the tray regularly, and do not let it become long-term storage for every shoe.
For leather footwear, Clarks recommends natural drying away from radiators and other direct heat. Follow the care directions for your particular footwear. A closed cabinet or sealed bin should not be the first destination for wet pairs.
Trade-off: a tray contains mess but does not organize a large collection. Pair it with a separate dry-shoe destination.
5. A bedroom closet floor zone
Choose it when: the entry is very small but your reach-in closet has accessible space beneath short hanging clothes.
A low rack or a row of individual shoe containers can make the closet floor easier to use. Avoid placing shoes where long clothing rests on them. Keep current pairs near the opening and occasional pairs in less convenient positions only if you can still retrieve them without unloading the closet.
Group shoes by use rather than arranging them solely by color. Work shoes, gym shoes, and occasional heels may belong in different zones. If this takes away storage needed for clothing, move only the less-used pairs into the closet.
Trade-off: the route from the entrance is longer. Keep a small arrival spot for the shoes you remove first, then return them when dry and ready for storage.
6. An under-bed organizer for clean occasional shoes
Choose it when: your bed has accessible clearance and you do not need these shoes every morning.
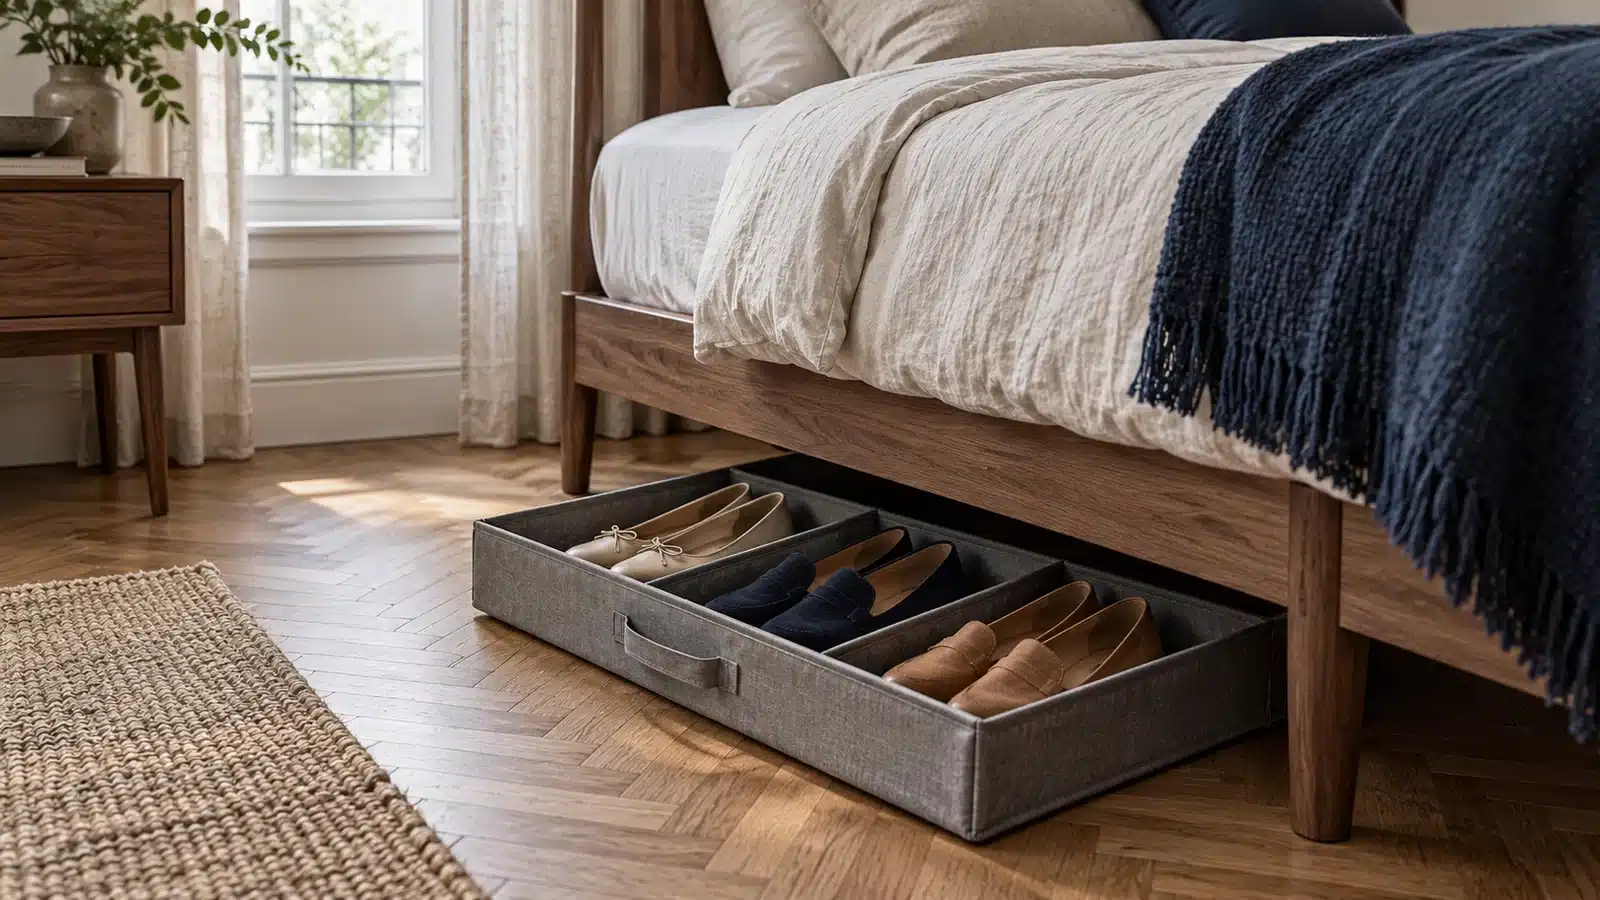
Use a container suited to the available space, then test whether it pulls out fully with the bed and surrounding furniture in place. Separate pairs so you can find what you want without emptying the organizer. Store only shoes that are clean and dry according to their care needs.
Do not fill the entire under-bed area without considering other categories. Spare bedding or luggage may already need that space. Assign sections deliberately rather than using the area as a hidden overflow zone.
Trade-off: access is less convenient than an entry rack. It suits occasional shoes better than a pair you need in a hurry.
7. A compatible over-door organizer
Choose it when: a suitable interior door can support the organizer and still close normally.
Check the hook arrangement, door thickness, clearance at the frame, and product instructions. Test normal opening and closing before loading every pocket. Avoid an arrangement that damages the door, catches on the frame, or interferes with hardware.
Pocket sizes differ. Lightweight flats or children’s shoes may suit some organizers better than large sneakers or boots. Put the pairs you use most at a comfortable reach, rather than filling pockets from top to bottom without a plan.
Trade-off: not every door or shoe is compatible. Do not force the fit simply to avoid using floor space.
8. A short cubby organizer in an existing storage area
Choose it when: the apartment already has a suitable alcove, shelving area, or bedroom corner.
Cubbies can separate pairs and make ownership clear in a shared apartment. Use a section for each person or category. Keep larger shoes in compartments that actually fit them, instead of squeezing footwear into a grid designed around smaller examples.
Follow installation and anchoring directions for the organizer. Adding it to an existing corner does not make those requirements disappear. Avoid stacking units unless the manufacturer expressly supports that configuration.
Trade-off: a cubby unit can consume useful floor area. It needs to replace a clutter problem, not simply move it into a larger footprint.
9. A seasonal shoe rotation
Choose it when: boots and summer footwear compete for the same small entrance all year.
Keep the current season’s regular pairs accessible and move clean, dry off-season shoes into a defined bedroom or closet storage area. Label the category clearly. Leave access for unpredictable weather or travel rather than making seasonal shoes impossible to retrieve.
Review the collection when you rotate it. Pairs that no longer fit, are uncomfortable, or need repairs should not automatically return to storage. Decide what happens to them instead of repeating the same packed-bin cycle.
Trade-off: rotation needs a secondary storage home. It is not useful if “seasonal” simply means a bag behind the door.
10. A two-zone system for a shared apartment
Choose it when: several people leave shoes at the same entrance.
Give everyone a small everyday zone by the door and their own occasional-shoe storage elsewhere. A visible boundary helps: separate shelf sections, distinct baskets, or named cubbies. Discuss how many current pairs the shared entrance can accommodate rather than enforcing an arbitrary rule after it overflows.
Keep guest shoes in mind. A temporary open spot or tray may be more practical than keeping a large empty rack all week. The shared arrangement should be understandable without constant reminders.
Trade-off: even a good system needs cooperation. Choose an easy place to put shoes away, not a storage method that relies on several precise folding or stacking steps.
Compare shoe storage for small apartments before buying
| Option | Best use | Main check |
|---|---|---|
| Low open rack | Daily pairs beside the entrance | Loaded footprint and door movement |
| Shoe bench | Seating plus everyday storage | Intended seating use and lower access |
| Shallow cabinet | Concealed storage | Shoe fit and required wall fastening |
| Removable tray | Wet or dirty arrivals | Cleaning and drying routine |
| Closet rack | Bedroom-based storage | Garment hems and daily reach |
| Under-bed container | Occasional clean, dry pairs | Pull-out access |
| Over-door pockets | Compatible doors and smaller footwear | Frame clearance and product directions |
Shoe storage for small apartments: a fit worksheet
When comparing shoe storage for small apartments, measure the shoes you intend to store, not an empty organizer alone. Put each matching pair in the orientation you will use on the shelf. Include toes, heels, boot shafts, and any part that extends beyond the frame. A pair that fits when carefully angled may be awkward to return while carrying groceries.
| Fit check | Your result |
|---|---|
| Largest everyday pair: combined width and front-to-back depth | ________________________ |
| Tallest footwear in its intended position | ________________________ |
| Shelf opening and space to lift the pair out | ________________________ |
| Loaded rack footprint, including projecting footwear | ________________________ |
| Cabinet, drawer, or organizer in its open position | ________________________ |
| Everyday pairs versus pairs stored elsewhere | ________________________ |
Check the proposed arrangement with an actual pair before committing to the whole collection. Can you retrieve it without removing the shoes beside it? Is there room for your hand above the shelf? Can a boot stand as its care requirements allow, rather than being crushed to make the claimed pair count work? Follow the footwear’s own care instructions.
If a pile returns, look at its position. Shoes immediately in front of an empty rack suggest that putting them away is inconvenient. A rack full of occasional footwear suggests that the entrance has the wrong inventory. A growing collection under the bench may mean the lower openings do not accommodate the shoes people actually wear.
Before adding a second rack, move occasional pairs elsewhere, reduce the entrance inventory, or test a more accessible shelf. Give bags a separate landing spot if they block the footwear area.
For shared shoe storage for small apartments, agree which shelf or section each person uses and where temporary arrivals go. Leave a deliberate home for the shoes worn today. An arrangement is easier to maintain when returning a pair does not require reorganizing someone else’s collection first.
Make the storage routine easy to keep
Set up the everyday zone first, using the shoes that are currently on the floor. Try the arrangement for a few ordinary arrivals before ordering extra storage. Does the door open? Can you put shoes away with a bag in your hand? Does anyone have to move another person’s shoes?
Next, assign the occasional pairs a separate home. Leave a clear route between the two zones and keep both understandable. Clean and dry shoes as appropriate before enclosed storage. If the entrance overflows again, check whether too many categories are competing there or whether the secondary storage is inconvenient.
Use furniture as its manufacturer intends. The CPSC’s Anchor It! guidance explains the importance of following furniture restraint instructions. A rental-friendly system must account for required installation, not quietly omit it.
Shoe storage for small apartments: common mistakes
- Choosing by the advertised pair count. Check your actual shoe sizes and shapes.
- Putting wet shoes straight into a sealed container. Follow footwear care and drying directions first.
- Blocking the entrance with a better-looking pile. A rack still needs a usable location.
- Calling every cabinet no-drill. Many products have wall-fastening requirements.
- Using every gap as overflow. Give occasional pairs one defined home.
- Buying before separating daily and seasonal shoes. You may not need the large unit you initially imagined.
Shortlist shoe storage for small apartments by testing one rack position and one suitable backup location. Bring home the shoes you wore today, set them down and walk onward carrying a bag. Then retrieve tomorrow’s pair without rearranging the collection. Check this sequence with the entrance door fully open and any nearby cabinet in use.
Write the largest shoe dimensions, shelf opening and total loaded footprint beside each option. Include boot height and the space needed to grasp a pair. Keep wet-weather footwear out of the dry backup trial until appropriately dry. If everyday pairs repeatedly land beside the rack, move their home closer to the arrival action or reduce the number competing for that position.
Check a shoe rack against the loaded arrival routine
Place the everyday collection on the proposed shoe rack footprint, then retrieve and return one pair with a bag in hand. Include the shoes that project furthest forward and the boots that need more height. A shoe rack may fit beside the door empty while loaded toes extend into its sweep. Draw the loaded outline, open the door fully and repeat the arrival before choosing the rack position.
Compare the same collection with a shoe cabinet or suitable shoe bench. Check the internal opening, the movement needed to remove a pair and any required installation. Keep wet-weather handling separate from clean backup storage. If a shoe rack is easiest for current pairs, there is no need to make the whole collection visible there; a second suitable home can hold occasional shoes. Choose the arrangement that supports arriving and leaving without rearranging the full footwear collection.
Test the shoe bench for sitting and standing as well as shelf access; its seating role should suit the intended user. Compare the shoe rack with footwear loaded and the shoe cabinet with its door open. Check that both residents can return their current pair. Include these operating states in your shoe storage comparison alongside floor dimensions.
Shoe storage questions
How do I hide shoes in a small apartment?
Consider a purpose-designed cabinet or an appropriate bedroom storage container. Check footwear fit, access, ventilation features, and required installation. Do not conceal wet shoes just to make the entrance look tidy.
Can I use a shoe cabinet without attaching it to the wall?
Only if the particular product is intended and instructed to be used that way. Do not ignore a wall-fastening requirement or improvise an adhesive substitute. If mounting is not possible, choose a compatible alternative.
Where should boots go?
Choose a place that accommodates their actual height and width without bending them into an unsuitable compartment. Keep regularly used boots accessible; store seasonal pairs according to their material-care needs.
Should all shoes stay beside the front door?
Usually not when the entrance is small. Keeping current pairs near the door and occasional pairs elsewhere can make the entry easier to use. The second location must be convenient enough to maintain.
Keep the entrance for arriving, not storing everything
Shoe storage for small apartments does not need to become a miniature shoe store beside the door. Give everyday pairs an easy home, keep the route usable, and move the rest to a deliberate secondary zone. Start with that division before adding furniture, and the right storage choice becomes much clearer.