Small kitchen appliance storage starts with two decisions: where an appliance rests and where it operates. Give daily equipment a suitable working position, store occasional equipment where you can lift it comfortably, and keep accessories with their machine. A cupboard that hides a toaster does not automatically become a safe place to use it.
For the surrounding preparation area, see our guide to kitchens with little counter space. If groceries are competing with appliances, establish a food zone using our small-kitchen guide for homes without a pantry.
In this guide
1. Sort small kitchen appliance storage by use and weight
Plan small kitchen appliance storage by listing each countertop machine and how often your household actually uses it. Include the appliances stored outside the kitchen; otherwise a cupboard reset can appear successful while a bread maker remains stranded in the hallway. Group daily, weekly and occasional equipment, then flag pieces that are difficult for you to lift. Frequency alone should not send a heavy mixer onto a high shelf.
Use a typical routine to settle borderline cases. A kettle used several times a day may deserve a permanent position, while a waffle maker used on weekends can live nearby in a cabinet. A machine used every morning but painfully awkward to move needs a different solution from a lightweight hand mixer used once a month.
Check duplicate functions before expanding storage. You might use both a blender and food processor, but if one has not been used for months, try storing it outside the prime zone temporarily. The goal is a workable collection, not pressure to replace equipment or discard a machine somebody else relies on.
2. Measure the complete storage envelope
Measure each appliance’s width, depth and stored height with the parts that remain attached. Include handles, feet and a projecting plug where relevant. Compare these dimensions with the clear cabinet opening as well as the interior. Note whether an appliance can be safely stored on its side; do not improvise a new orientation without checking its instructions.
Imagine a cabinet opening 14 inches wide and an appliance 13 inches wide. That leaves little space to hold its sides, even though the figures suggest a fit. Use the actual unplugged appliance, cool and clean, to test retrieval from a supported surface if it can be done safely. Measure any tray or container that will share the space rather than relying on the bare-machine size.
Record weight when the manufacturer’s specification provides it. Compare the total stored load with the cabinet shelf or drawer’s capacity. Weight also affects your personal lifting route: moving a machine upward, across a door edge and onto a counter is different from sliding it a short distance on an appropriate support.
Worked example: a blender fits but cannot be lifted easily
Imagine a cupboard with a 35 cm clear opening and a shelf 40 cm wide. A blender is 32 cm wide when its stored parts are arranged together, leaving only 3 cm across the doorway before you consider hand access. These are illustrative dimensions, not a clearance rule. Test the actual cool unplugged appliance on a supported surface. If the sides are its intended grip points, the doorway may leave too little room for a comfortable removal.
Move the accessory container beside rather than around the base if that creates a better lift. Compare the full stored height with the shelf above and include whatever parts remain attached under the model instructions. Appliance storage that requires tilting a machine into an unsupported position is a poor fit. Check the permitted orientation for the exact model rather than assuming countertop appliances can all be stored on their sides.
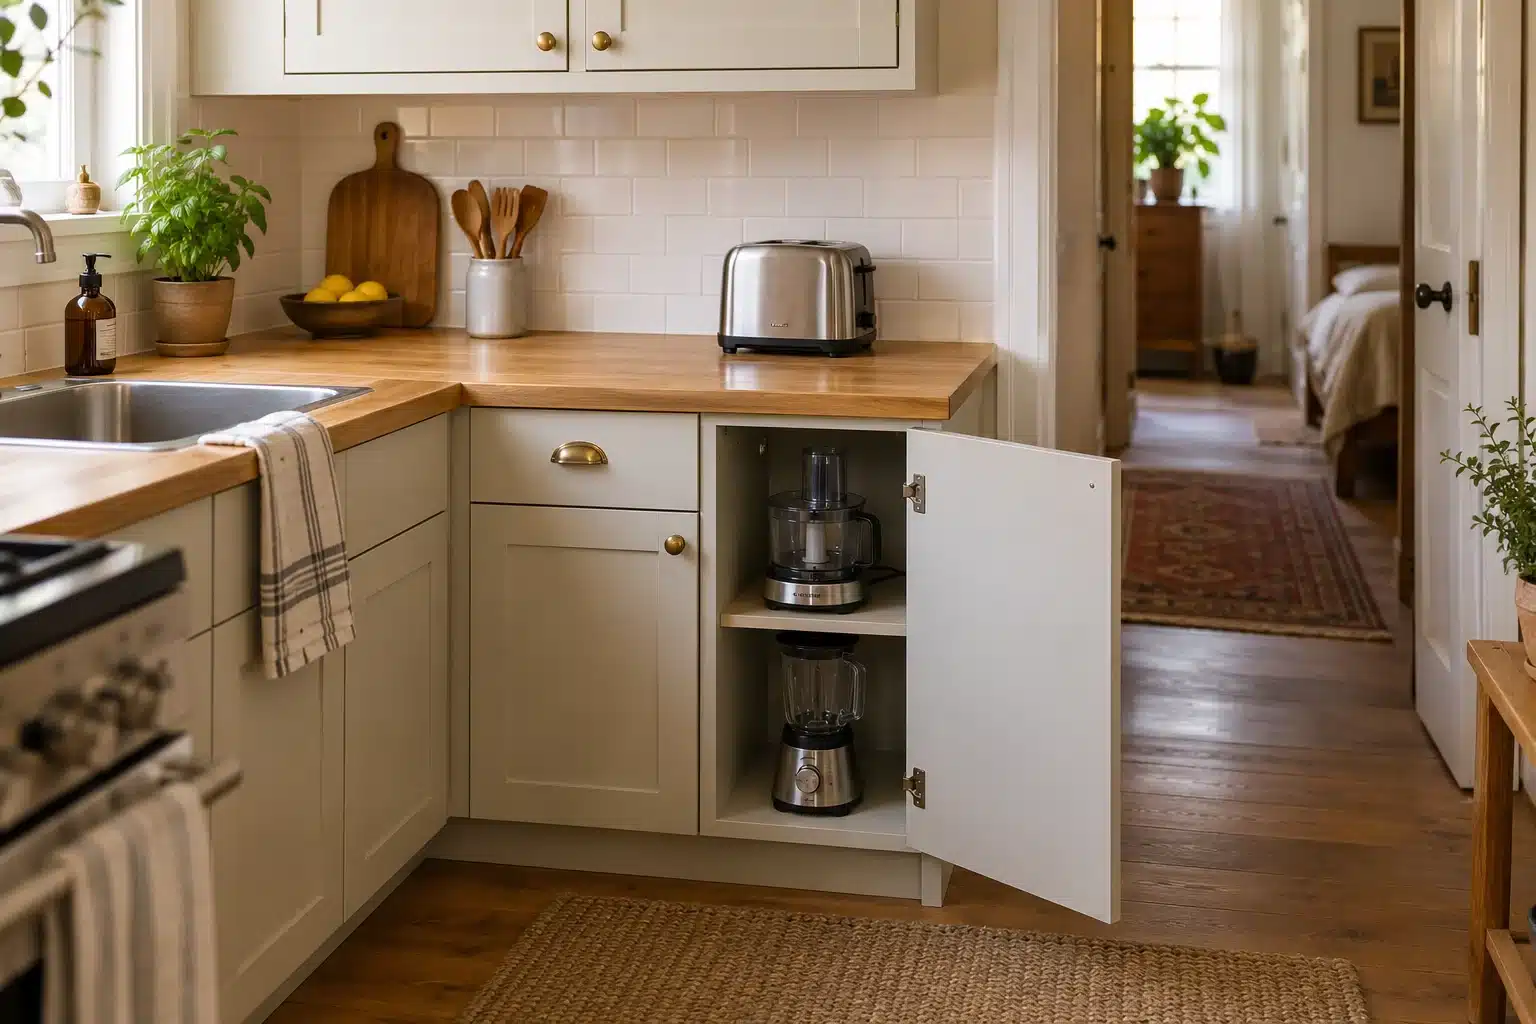
Next, check the landing position. Can you bring the appliance out, set it on a suitable surface and assemble it without moving the chopping board to the floor? The operating position may need space for opening, parts removal, ventilation and access described in the manual. A machine fitting in the cupboard does not establish that it can be operated there. Keep appliance storage measurements and operating measurements in separate columns.
If a lighter appliance can use the cupboard more easily, exchange their locations. A daily machine that is difficult to lift may merit an appropriate permanent operating position, while occasional countertop appliances can leave the prime counter between uses. Keep the collection compatible with the real preparation area. Changing one allocation is often a more useful first experiment than adding a cart that also needs a place to park.
| Machine | Stored-state notes | Use-state notes |
|---|---|---|
| Blender | Base, permitted part arrangement, grip access | Assembly and suitable operating surface |
| Mixer | Complete stored height and manageable lift | Head movement, bowl removal and model instructions |
| Toaster | Cool stored shape and cord arrangement | Location and clearances from its manual |
| Coffee machine | Daily access and removable accessories | Refill, cleaning and normal operation space |
3. Compare small kitchen appliance storage locations
| Location | Good candidate | Check before use |
|---|---|---|
| Permanent counter position | Daily machine that is awkward to move | Operating instructions, outlet and remaining preparation space |
| Accessible lower cabinet | Weekly equipment with a manageable lift | Opening, shelf support and hand access |
| Rated deep drawer | Smaller machines and grouped accessories | Total load and closing height |
| Nearby storage cart | Equipment that cannot fit the existing cabinet | Stable shelves, wheel locks and parking route |
| Dedicated appliance lift | A heavy machine in a compatible cabinet | Installation, rated load and approved operating arrangement |
| Less convenient dry storage | Light occasional equipment | Retrieval, storage conditions and accessory tracking |
For small kitchen appliance storage, a lower cabinet is not automatically easier for everyone. Bending, grip and available counter height matter. Try the movement before assigning a heavy appliance. A suitably installed lift can reduce handling, but it is a hardware project with specific compatibility requirements rather than a universal solution for a rental cabinet.
4. Give daily appliances an actual operating zone
Open the manual for your exact model and identify surface, ventilation and clearance requirements. Allow room to open its lid or withdraw its basket and place hot components where the instructions permit. Keep cords away from hot surfaces and avoid placing a machine where ordinary sink use splashes it. Its working footprint may be much larger than the closed body.
For mixers, head movement and bowl removal are additional checks. KitchenAid’s stand-mixer guide instructs users to switch off and unplug before attaching the bowl. Keep the manual for the particular model available; a product photograph cannot establish its assembly, operating or clearance needs.
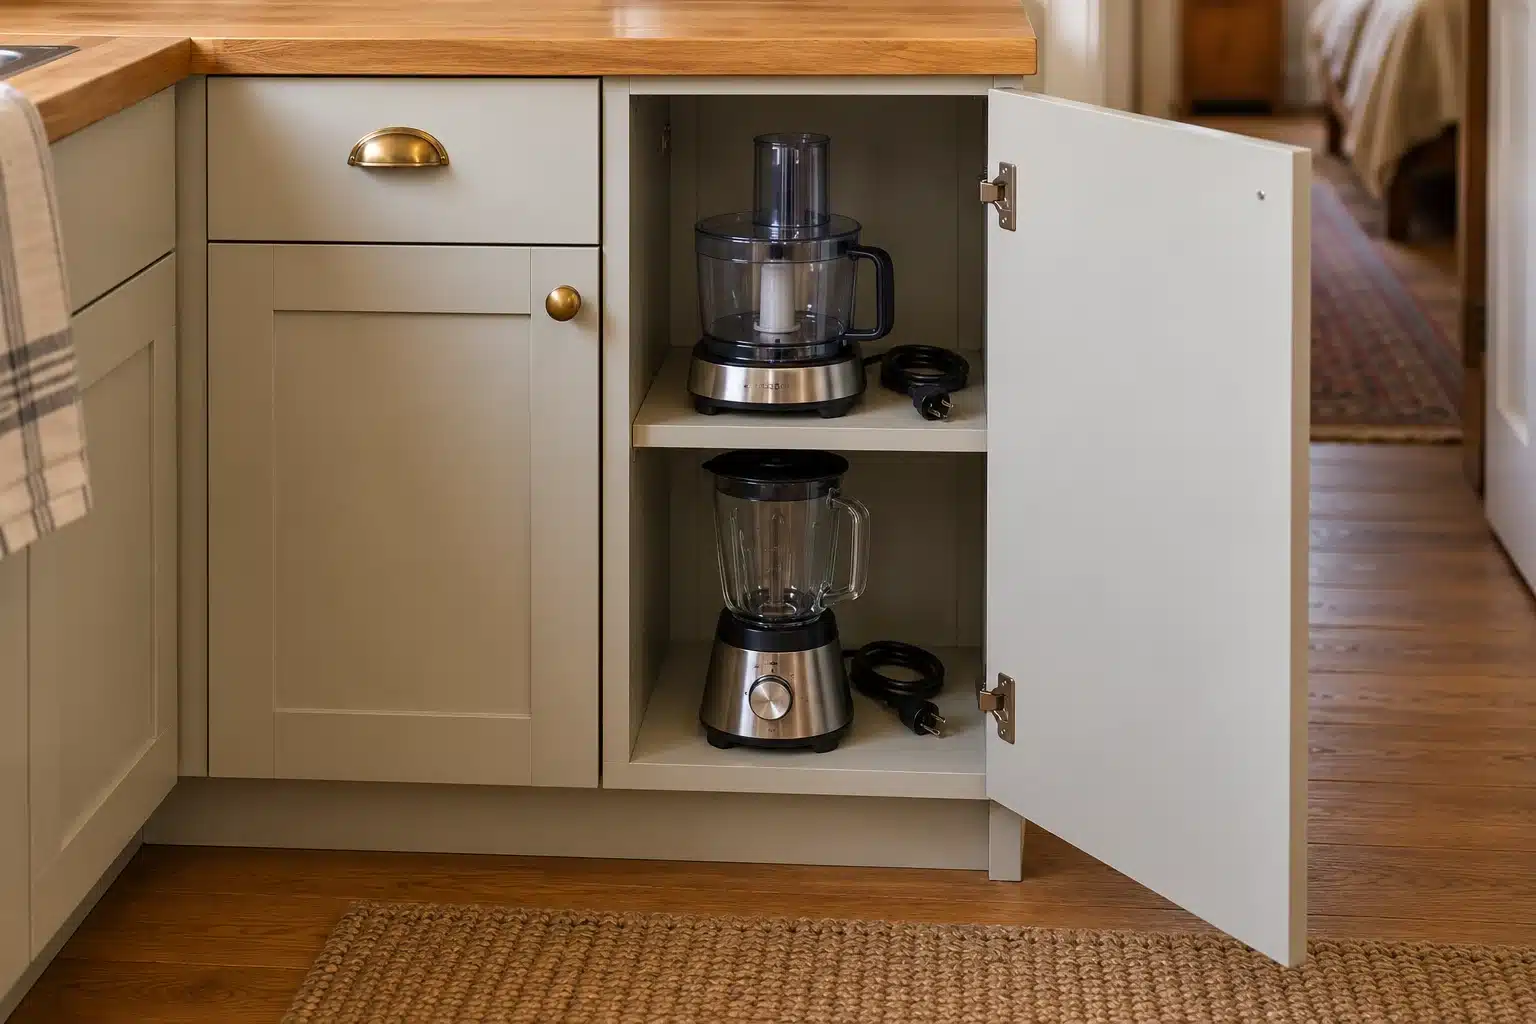
Check the working position separately from small kitchen appliance storage: mark the zone with removable tape and place the appliance there while unplugged. Simulate opening it and removing its ordinary parts. Then put your usual chopping board next to the zone. If breakfast preparation consumes every usable surface, consider storing one lightweight daily appliance between uses instead of making all equipment permanent.
A budget trial for countertop appliances
List the machines used on an ordinary weekday, those used during the week and those used occasionally. Add weight and how you actually move each one. Countertop appliances that serve a daily task deserve convenient access, but frequency alone cannot settle the location. A lightweight hand mixer and a heavy stand mixer can need very different appliance storage even when both are used once a week.
Assign one appropriate receiving surface for bringing a machine out. Keep its usable area clear during the test. Put the accessories in a small identifiable group near the base, retaining original instructions and any protective arrangements for sharp parts. An accessory bin should shorten retrieval, not require lifting another machine first. Use an existing suitable container where possible and avoid buying a complete system before this simple arrangement has been tried.
Run a breakfast routine with the current countertop appliances, observing the sequence rather than powering everything at once. Identify where the machine is retrieved, assembled, used as instructed, cleaned and returned after it is suitable to store. Write down the point at which another object has to move. Appliance storage may be inconvenient because the accessories are distant, the cupboard is too deep or the counter lacks a suitable landing zone.
Spend only for that named problem. A compatible accessory tray may help scattered parts. An approved appliance lift is a larger installation decision involving the cabinet and model. A cart adds a storage footprint and movement route. Compare total suitability before treating any of these as an upgrade. Keep appliance storage simple enough for the household to return machines correctly without a complicated daily rearrangement.
5. Make occasional equipment easy to bring out
Store the complete machine near the front of its assigned shelf with accessories beside it or in a suitable container. Do not pack a motor base behind a tower of serving dishes. Keep lids and loose parts from falling as the machine comes forward. A low bin can group small accessories, but it should not add an unnecessary lifting step for a heavy appliance.
Let equipment cool and clean it according to its instructions before returning it to storage. Dry removable washed parts appropriately. Secure a cord using the machine’s approved storage feature, or loosely contain it without pinching it under the base or bending it sharply around a handle. Never use the cord as a carrying grip.
Position heavy pieces on suitable supported shelving at a height that you can manage. Avoid balancing a blender above a mixer just because their silhouettes appear to nest. A storage layout that requires lifting with one hand while holding a cabinet door with the other deserves a change of location, not a smaller basket.
6. Check cart parking for small kitchen appliance storage
Measure the cart’s full depth and width, including handles, wheels and anything projecting beyond its shelves. Identify a parked location before buying it, then check fridge, oven and room-door movement. A cart that rolls away easily still needs somewhere to roll to while you cook. Test the route with the largest appliance on its intended level only when the cart and load are suitable.
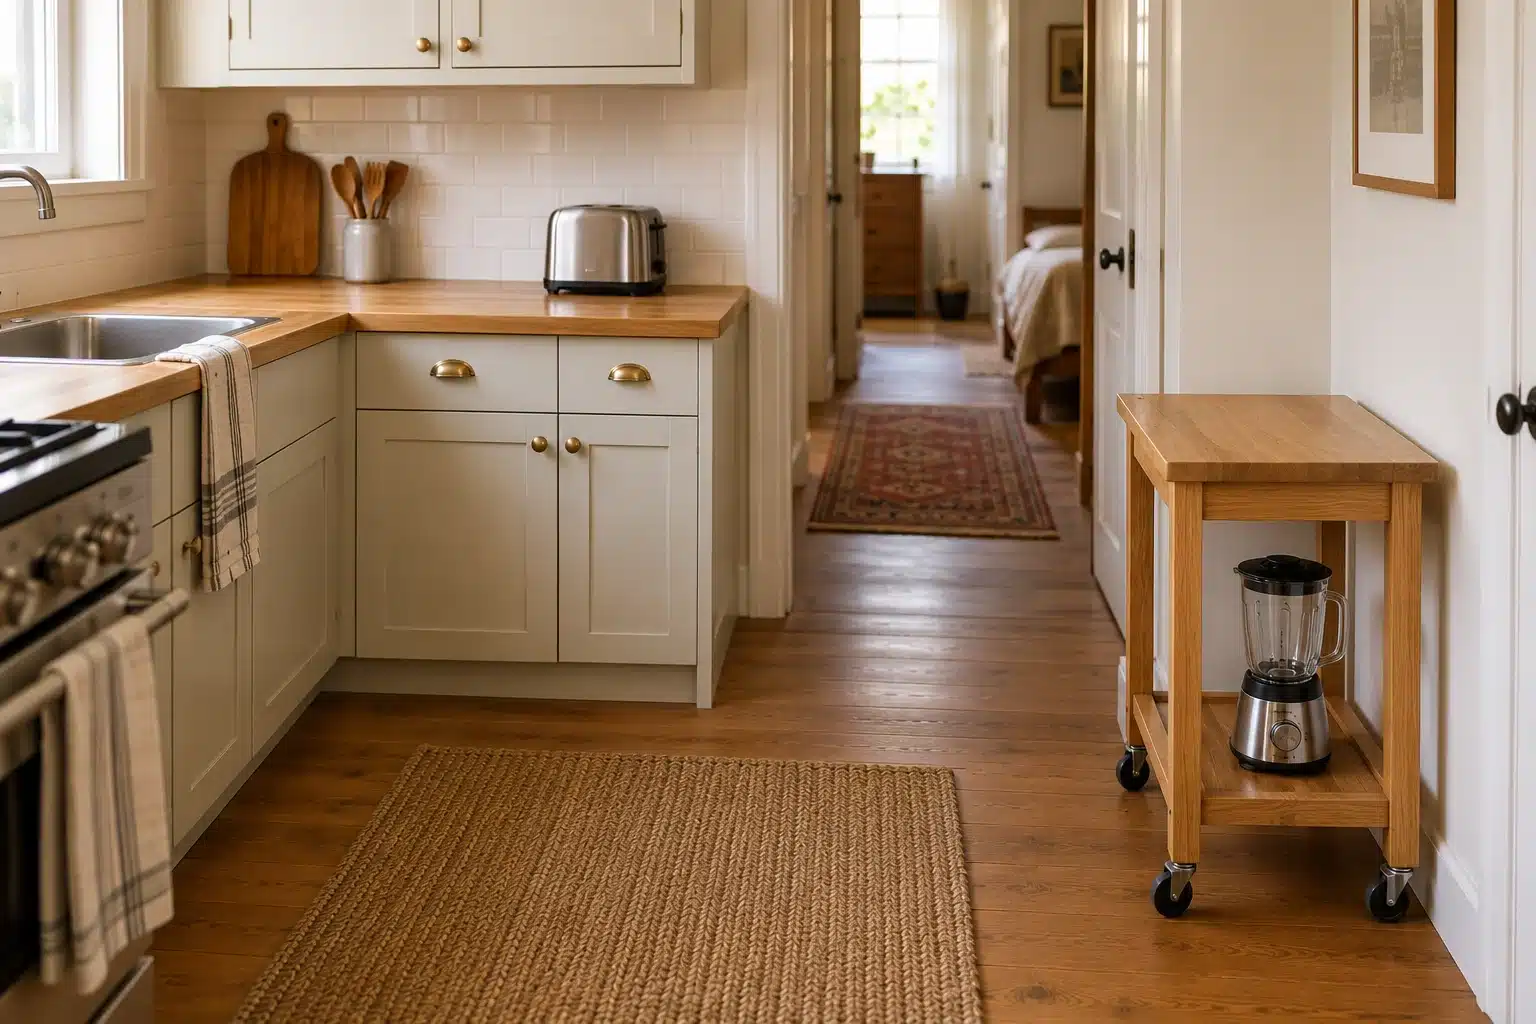
Use the manufacturer’s shelf ratings and assembly instructions, placing loads as directed and securing wheel brakes where provided. A storage cart is not necessarily approved as a platform for an operating heat-producing or vibrating appliance. Move equipment to an appropriate work surface unless both the equipment and support instructions permit the arrangement.
Check small kitchen appliance storage with the cart parked as well as in use. Its contents should not block a door, heater or ventilation opening, and the power cord should not stretch across the room from the parking position. If a parked cart leaves a cramped route, use an existing cabinet differently or reduce what claims the counter instead of treating mobility as extra floor space.
7. Check appliance garages against the actual task
An appliance garage can hide clutter, but an enclosed cavity may prevent the airflow required during operation. Opening the front alone does not establish safe clearances at the back, sides or above. Keep it as a storage space unless the appliance and installation instructions support use there. Do not add an outlet or route electrical wiring through cabinetry as an improvised organizing fix.
A pull-out shelf changes access rather than automatically creating a safe work surface. Its supports, locking arrangement and travel matter. A mixer can vibrate; a kettle produces steam; a toaster produces heat. Compare these conditions with both products’ instructions. For an installation involving electrical work or uncertain support, get qualified help and the necessary property permission.
For each machine, record two footprints: its complete stored shape and the space needed to open, assemble and use it according to its manual. Add the weight and the first surface on which you will set it after retrieval. This makes a cabinet plan account for the lift as well as the fit.
There is also a limit to reorganization. If the appliances alone occupy every safe operating surface, new internal shelves cannot fix that capacity problem. Choose a smaller daily set, alternate equipment by task, or plan an appropriate kitchen change. Do not solve it by operating a machine beside the sink edge or over the stove.
Troubleshoot retrieval, parking and the return routine
If countertop appliances keep returning to the worktop, ask why. A cupboard may be too low for a comfortable lift, too tightly packed for grip access or too far from use. Change the allocation before assuming the household is simply failing to tidy. Appliance storage that is difficult to use repeatedly is unlikely to remain effective. A more reachable supported position can be worth the space it occupies.
If the cart works only after moving chairs or blocking a door, revise its parking plan. Measure the complete cart with handles and contents, then trace the actual route from parking to the task. Do not drag countertop appliances while their cords remain connected. Follow the cart and machine instructions for movement and intended use. A storage cart may bring equipment nearby without being an approved operating surface for it.
If parts become separated, give each machine an identifiable accessory group. Check how often a jug, whisk or lid is used independently before assigning everything to a closed box. A label with the machine name helps when parts look similar. Retain any protective covers or manufacturer arrangements required for blades. Appliance storage is most useful when finding the base also leads directly to its correct components.
If every suitable operating surface is still occupied, record the actual daily tasks and decide which machines must remain ready. Alternate equipment by task where that fits your routine, or reconsider the collection or kitchen plan. More internal shelves cannot create an operating area. Review small kitchen appliance storage after a week using retrieval difficulty, preparation space and ease of return as the three measures of success.
| Observed problem | Check first | One trial |
|---|---|---|
| Machine stays on counter | Lift and grip access | Assign a more usable storage position |
| Cart blocks a door | Loaded parking and travel footprint | Choose another suitable location |
| Accessory is missing | Where matching parts return | Use an identifiable adjacent group |
| No preparation space | Actual daily equipment | Alternate suitable machines by task |
Record both storage and use for each machine
Make an appliance storage record with four entries for each machine: receiving cupboard or shelf, nearby landing surface, accessory location and the exact manual to consult. Record the required operating space from that documentation separately from the measured stored shape. Keep the note simple enough to update when a machine changes; it does not replace the manufacturer instructions.
For countertop appliances used by several people, agree where parts return and which equipment normally stays ready. If someone uses a machine daily while another considers it occasional, the allocation needs that information. Appliance storage improves when frequency reflects the household routine rather than one person’s habits.
Keep the operating space available during the relevant task and restore the preparation area afterward. Record any recurrent conflict with a board, dishes or another machine. Change the receiving position or sequence when that resolves the conflict. A finished plan provides somewhere appropriate to store, lift, use, clean and return the equipment; it is more than a cupboard that closes.
Questions about storing small appliances
Should every appliance be put away after use?
No. Leaving a frequently used, heavy machine in a suitable position may be easier than lifting it daily. Decide by actual use, safe operation and remaining work space. Occasional lightweight equipment usually benefits more from a cabinet home.
Can an air fryer run inside a cabinet?
Do not assume so. Follow the exact model’s surface, ventilation and clearance instructions. A shelf that holds it while cool is a storage location; it may be unsuitable during cooking even with the cabinet door open.
Where should blender accessories go?
Near the motor base, with sharp components stored using the manufacturer’s protective arrangement. Keep the assembly visible and identifiable. A labeled accessory bin works only if it fits and does not make retrieving the base harder.
How can I judge whether the reset worked?
Use the machines during a normal week. Check whether retrieving, operating, cooling and returning them is straightforward. If one machine never returns to its cupboard, revise its assigned home rather than adding more containers around it.